

How to Take DIY Newborn Hospital Photos
With the rise of the Fresh 48 photoshoot, a shoot by a professional photographer aimed at taking photos within the baby’s first days at the hospital, many families want great hospital photos. Unfortunately, you may not be able to have an official shoot for financial, time or hospital restrictions. I’m here to help! Below you’ll find out my best tips for DIY newborn hospital photos.
My first article in the hospital series was on taking photos of a c-section delivery, and how to prepare your partner and set yourselves up for success. Regardless of whether you are planning to have a c-section or not, I would recommend glancing over the main points, as they apply to all types of births, and you never know when a c-section may be necessary.
Today, we are jumping into the recovery phase of child birth, once you've had a moment to recover, compose yourself, and maybe even take a shower. Most hospital stays are long enough to allow for a little thoughtful photo session with your newborn, professional or otherwise, so here are some tips on how to make the most out of those photos.
1. Prepare
Make sure you load your camera, the nicest one you have (DSLR preferred, but it can be a normal point and shoot), with a fully charged battery and large memory card. I would recommend at least 32 MB. I would also add an extra memory card, an extra battery, a battery charger, and a little camera cleaning cloth to your bag. This tip was lifted straight from my first article, but I think it's so important that I had to include it here. You should also make sure your partner knows how to use the camera so you don't waste time and energy giving a tutorial when you are already drained and sleep deprived.
2. Make Photos a Priority
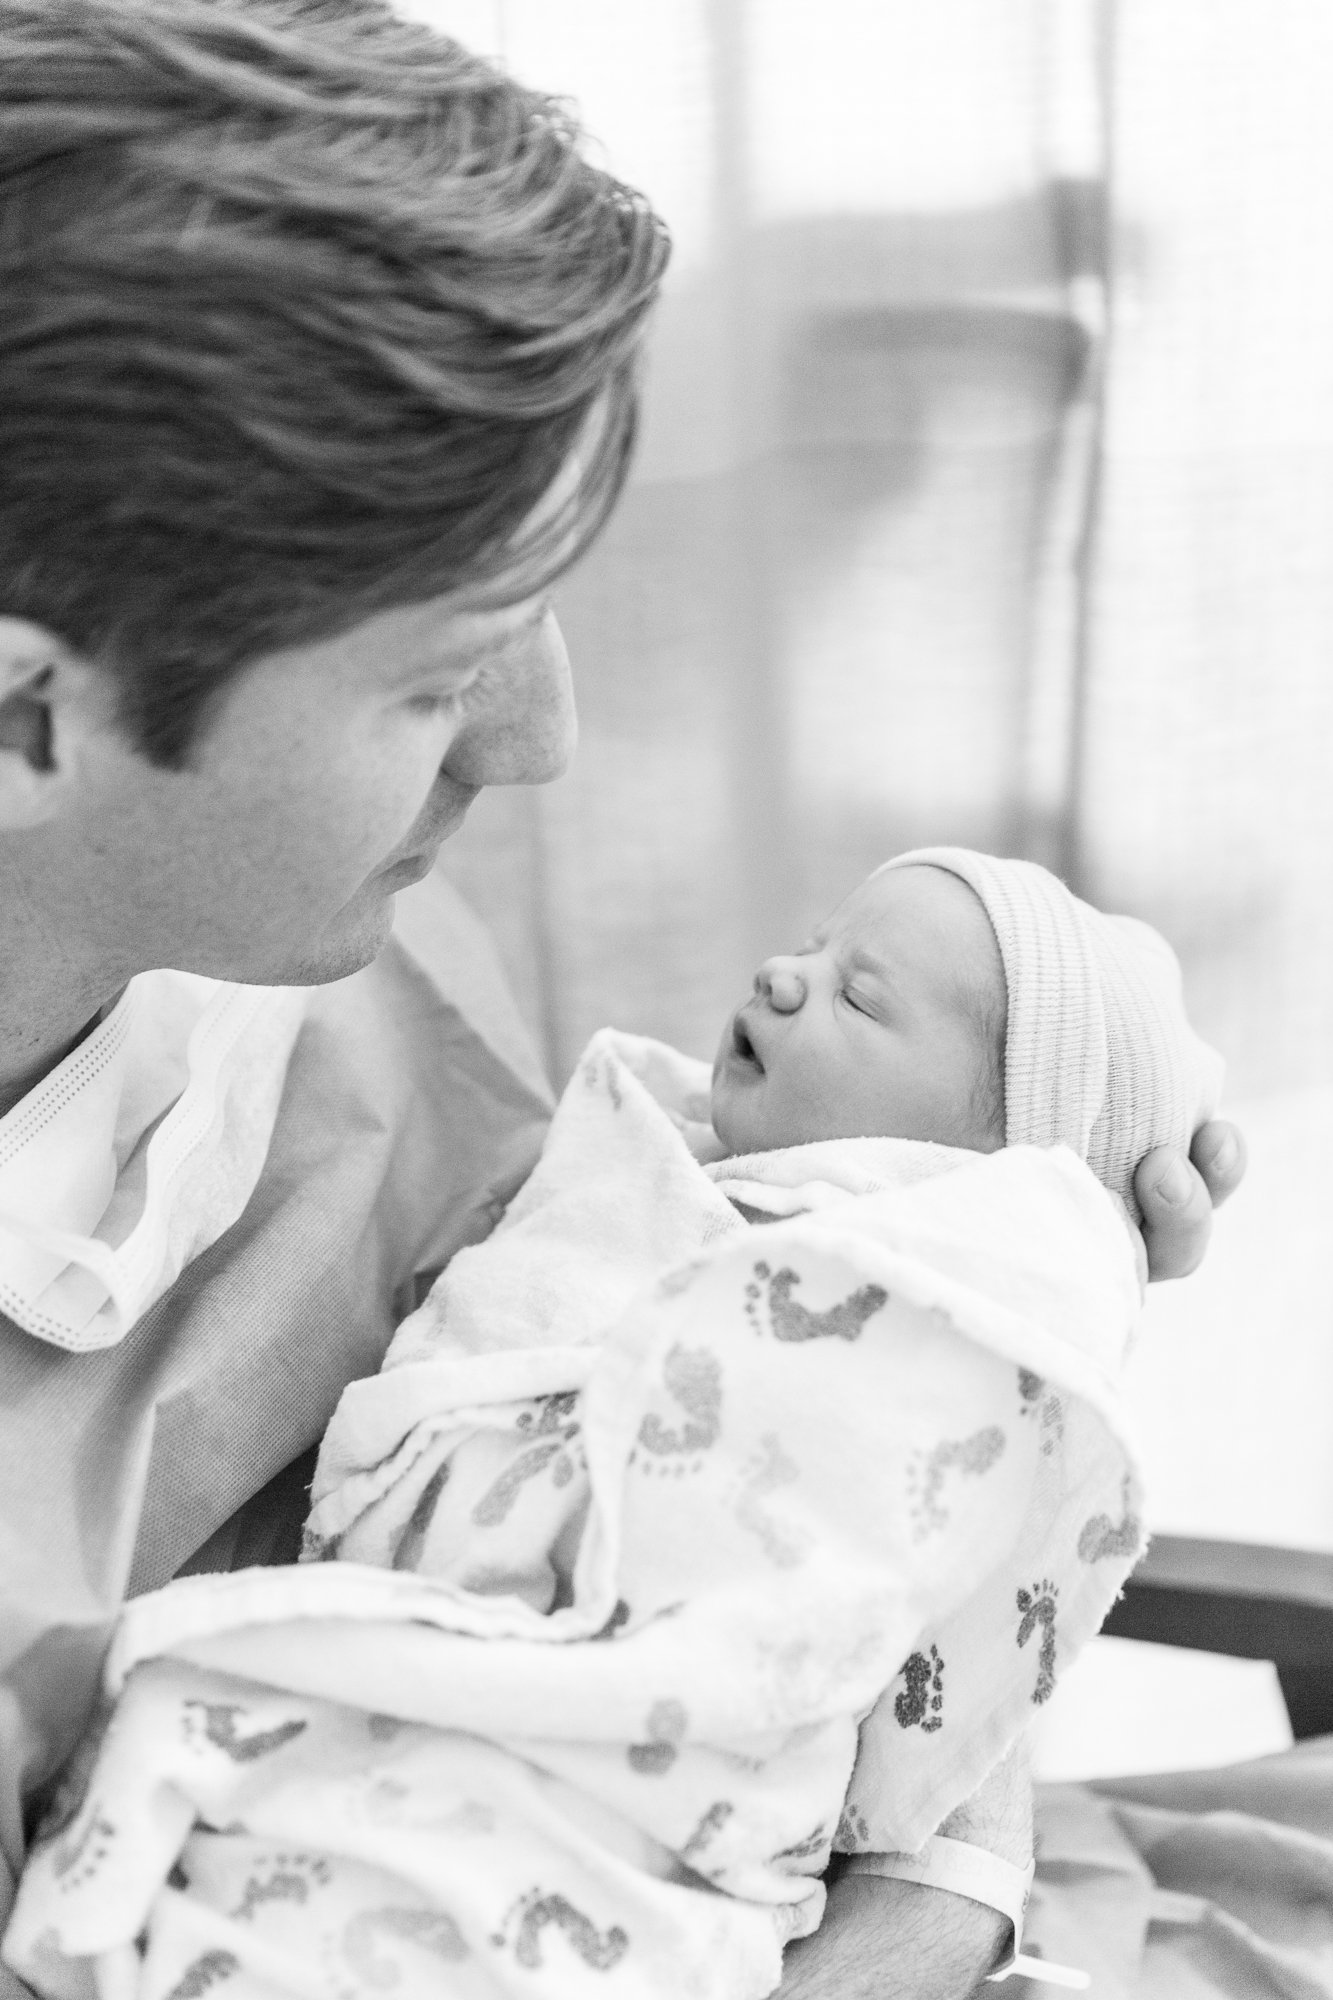
Soon after you deliver and compose yourself, a slew of doctors, nurses, lactation consultants, visitors, and the needs of your baby will be filling your room. Make it a point to look for the first open slot of time during the daylight hours and seize the opportunity! In that quiet time, you can get the detail shots of your baby, mom and baby photos, mom and dad photos, and a first family photo. If you are worried about missing a photo you might want, or just don't want to have to think about it day-of, a list of photos you want may be helpful to add to your hospital bag prior to delivery.
3. Find the Light
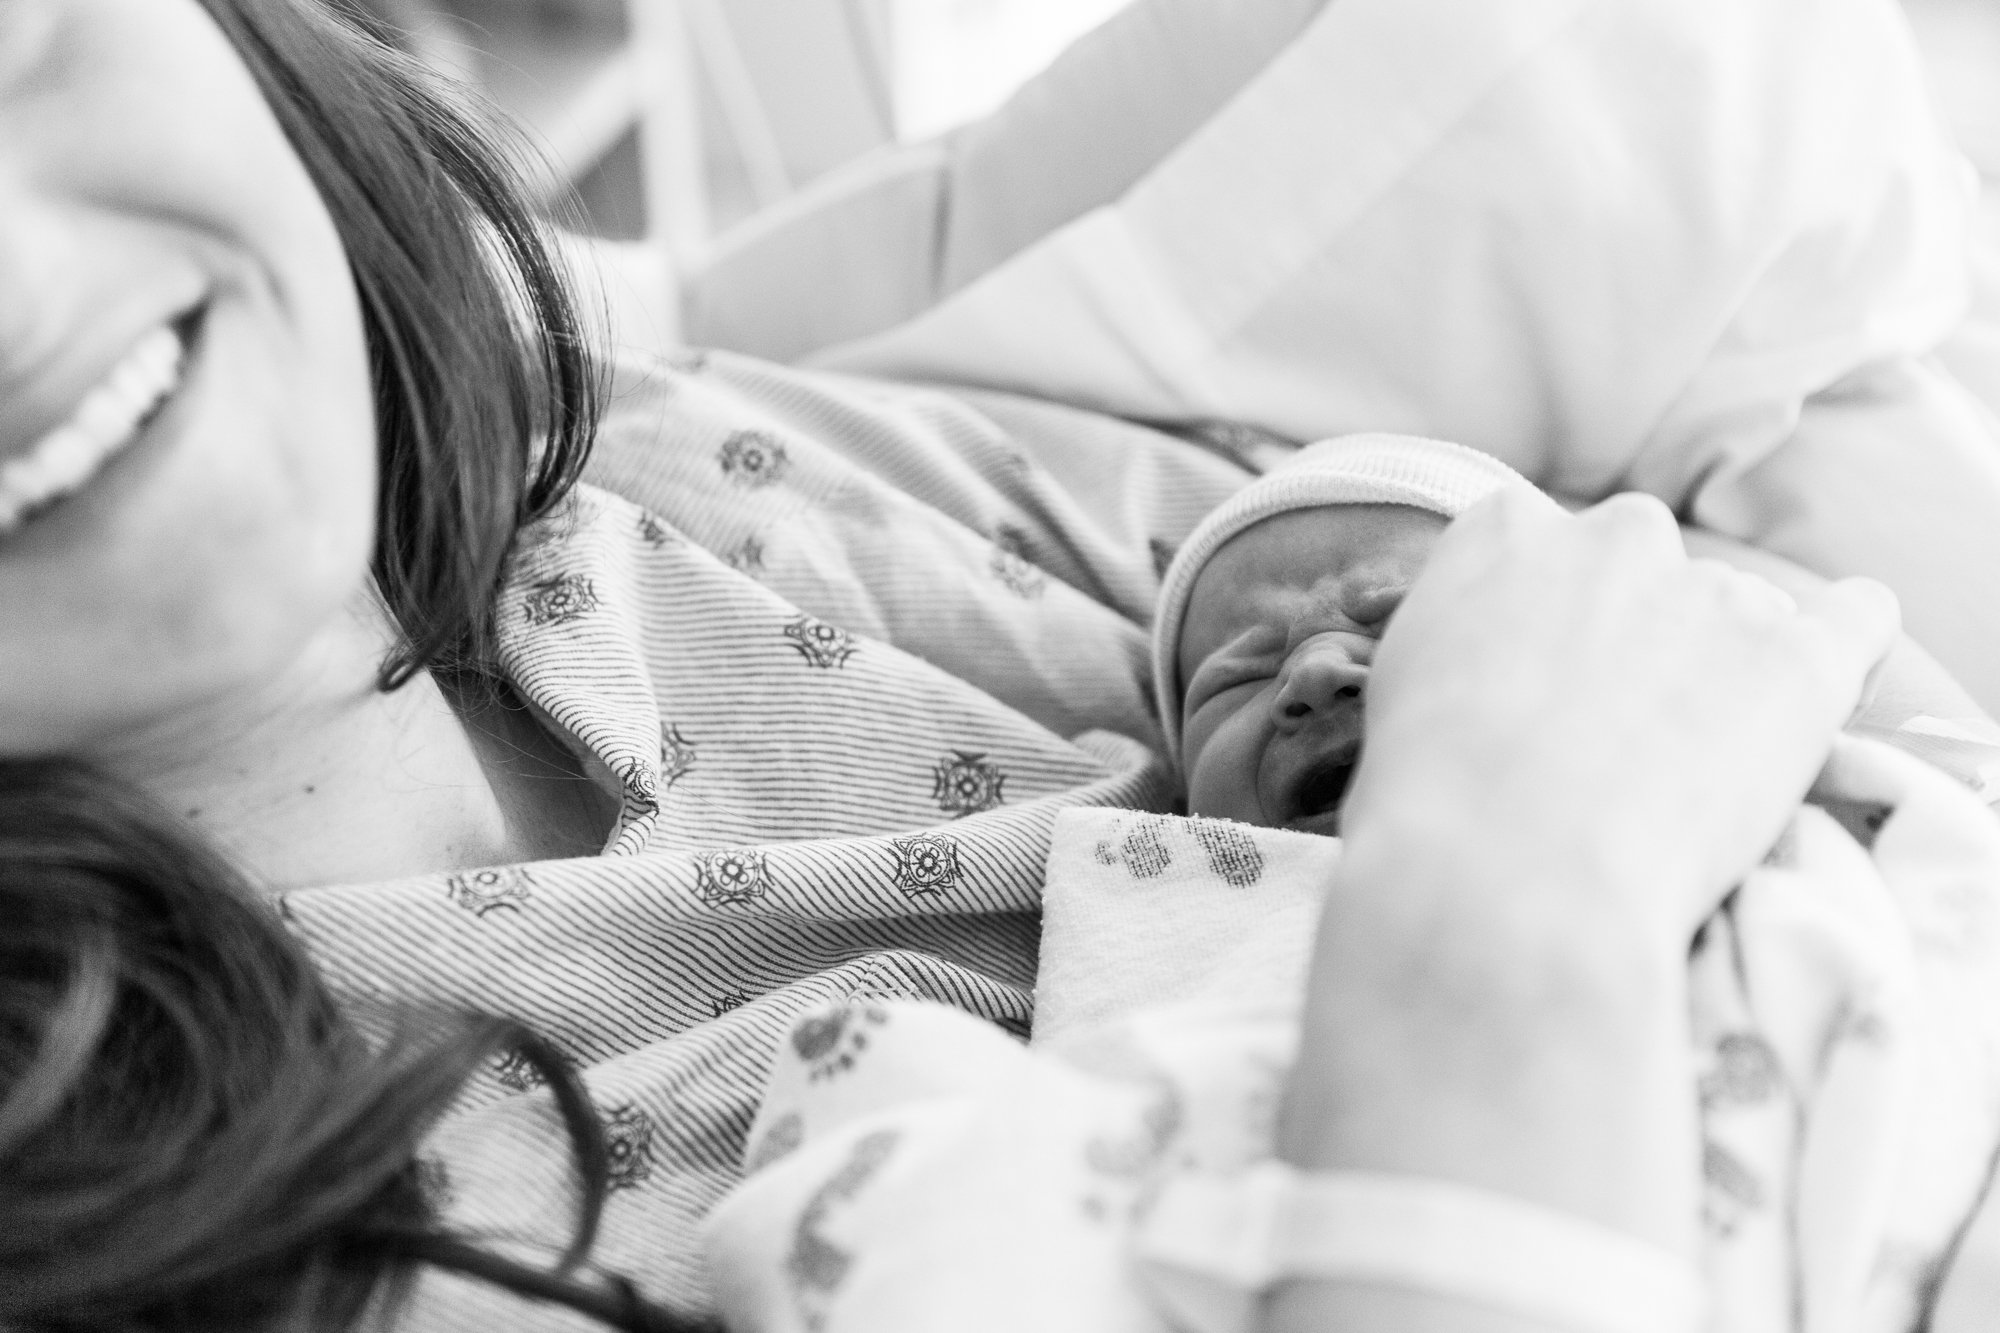
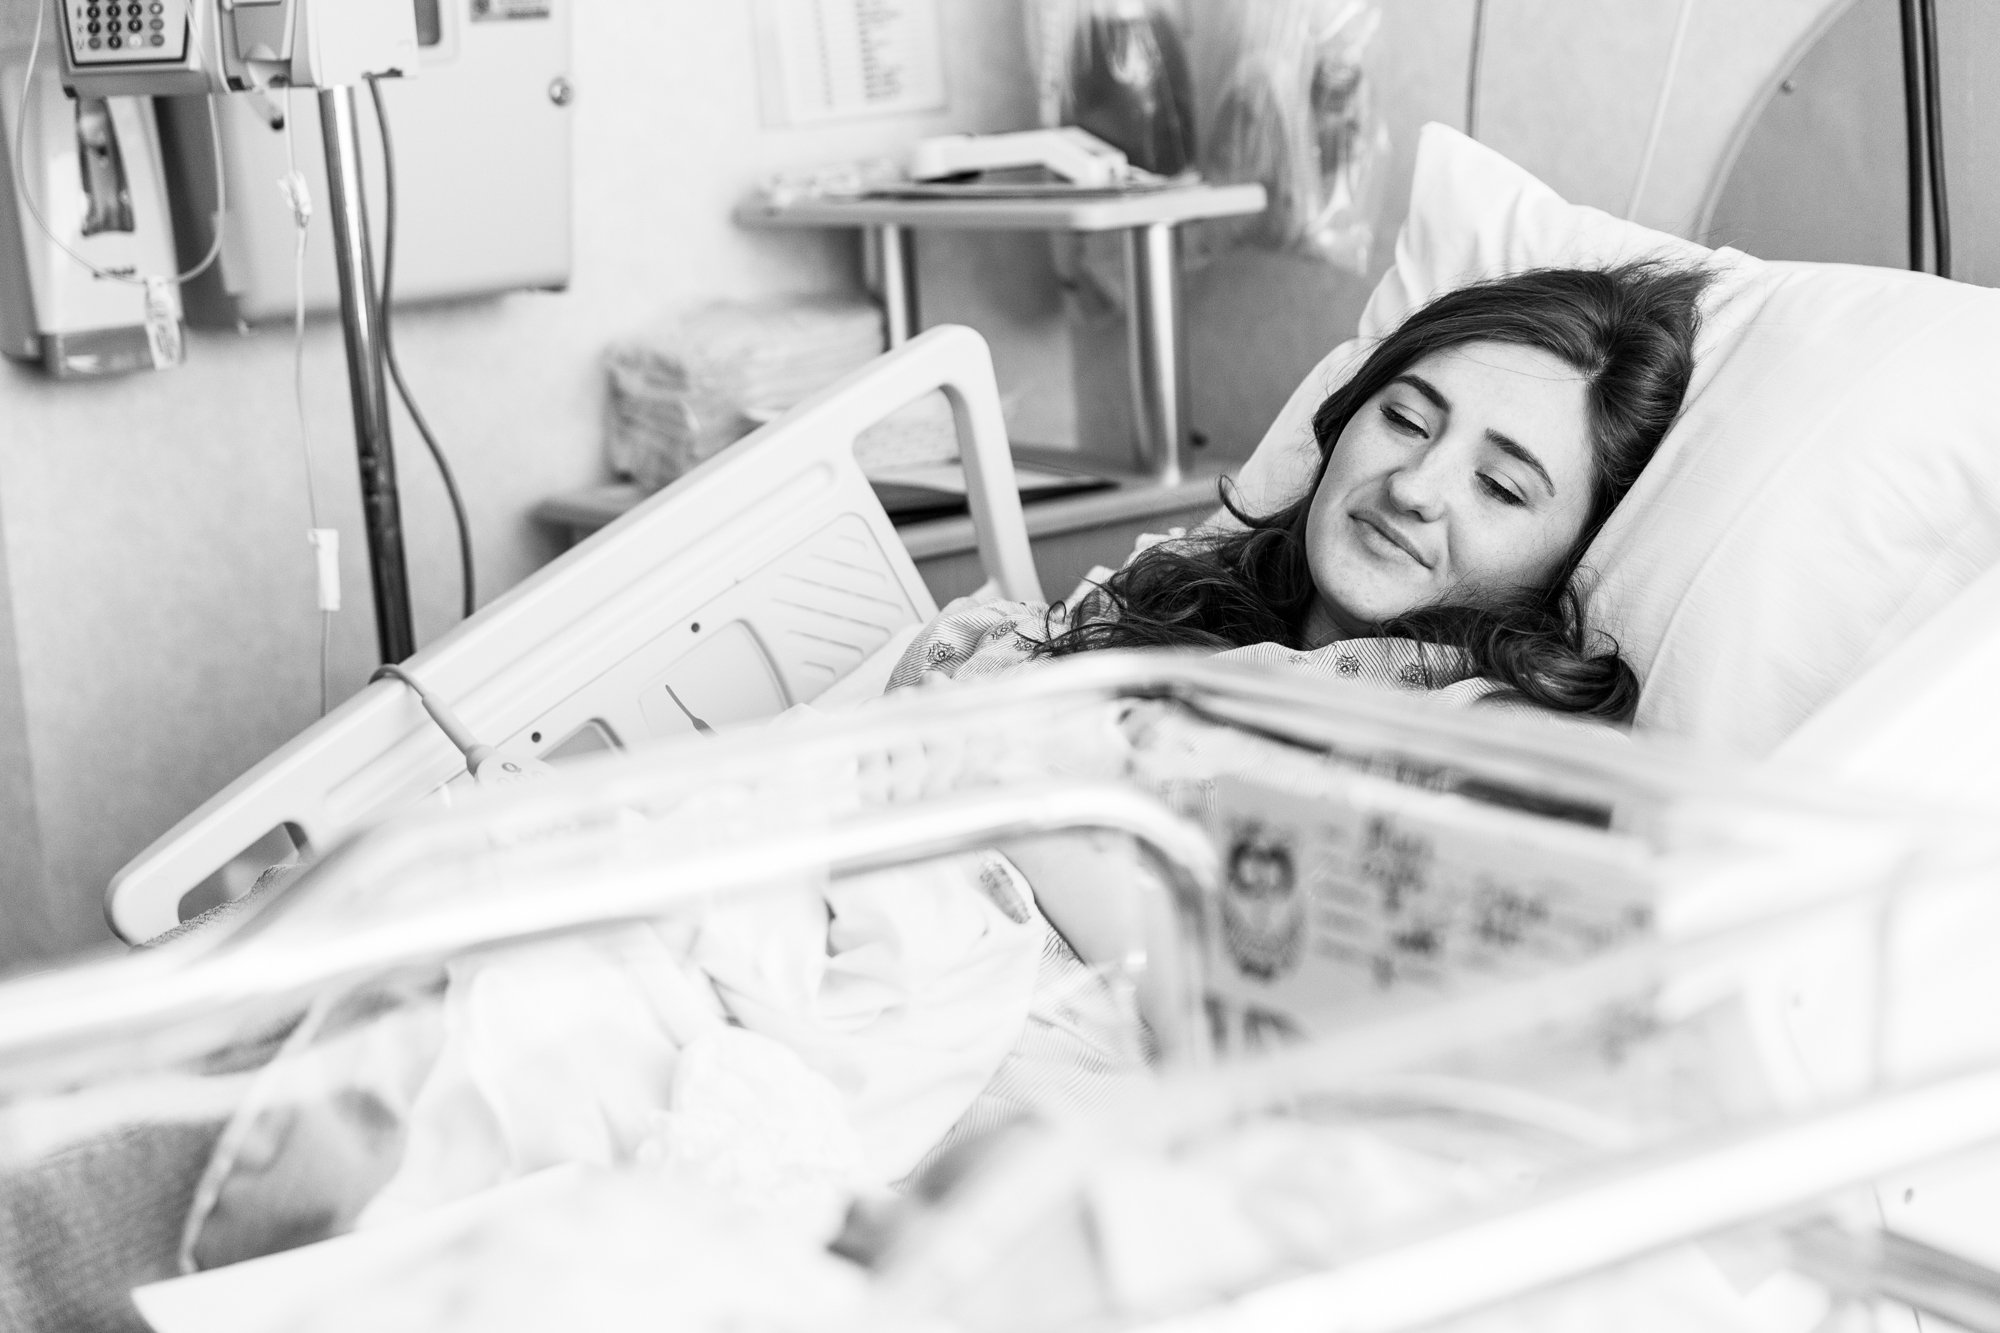
When taking photos in a hospital room, the lighting may be less than ideal. The way to combat harsh overhead lighting is by turning it off! The best time of day to take your hospital photos will be when your room receives plenty of indirect light. Turn off the overhead lights, throw open the blinds and shades and turn towards the window. Looking directly at the window, with the person taking the photo right at the window will eliminate any harsh shadows on your face, and lend itself to the most flattering light in this situation.
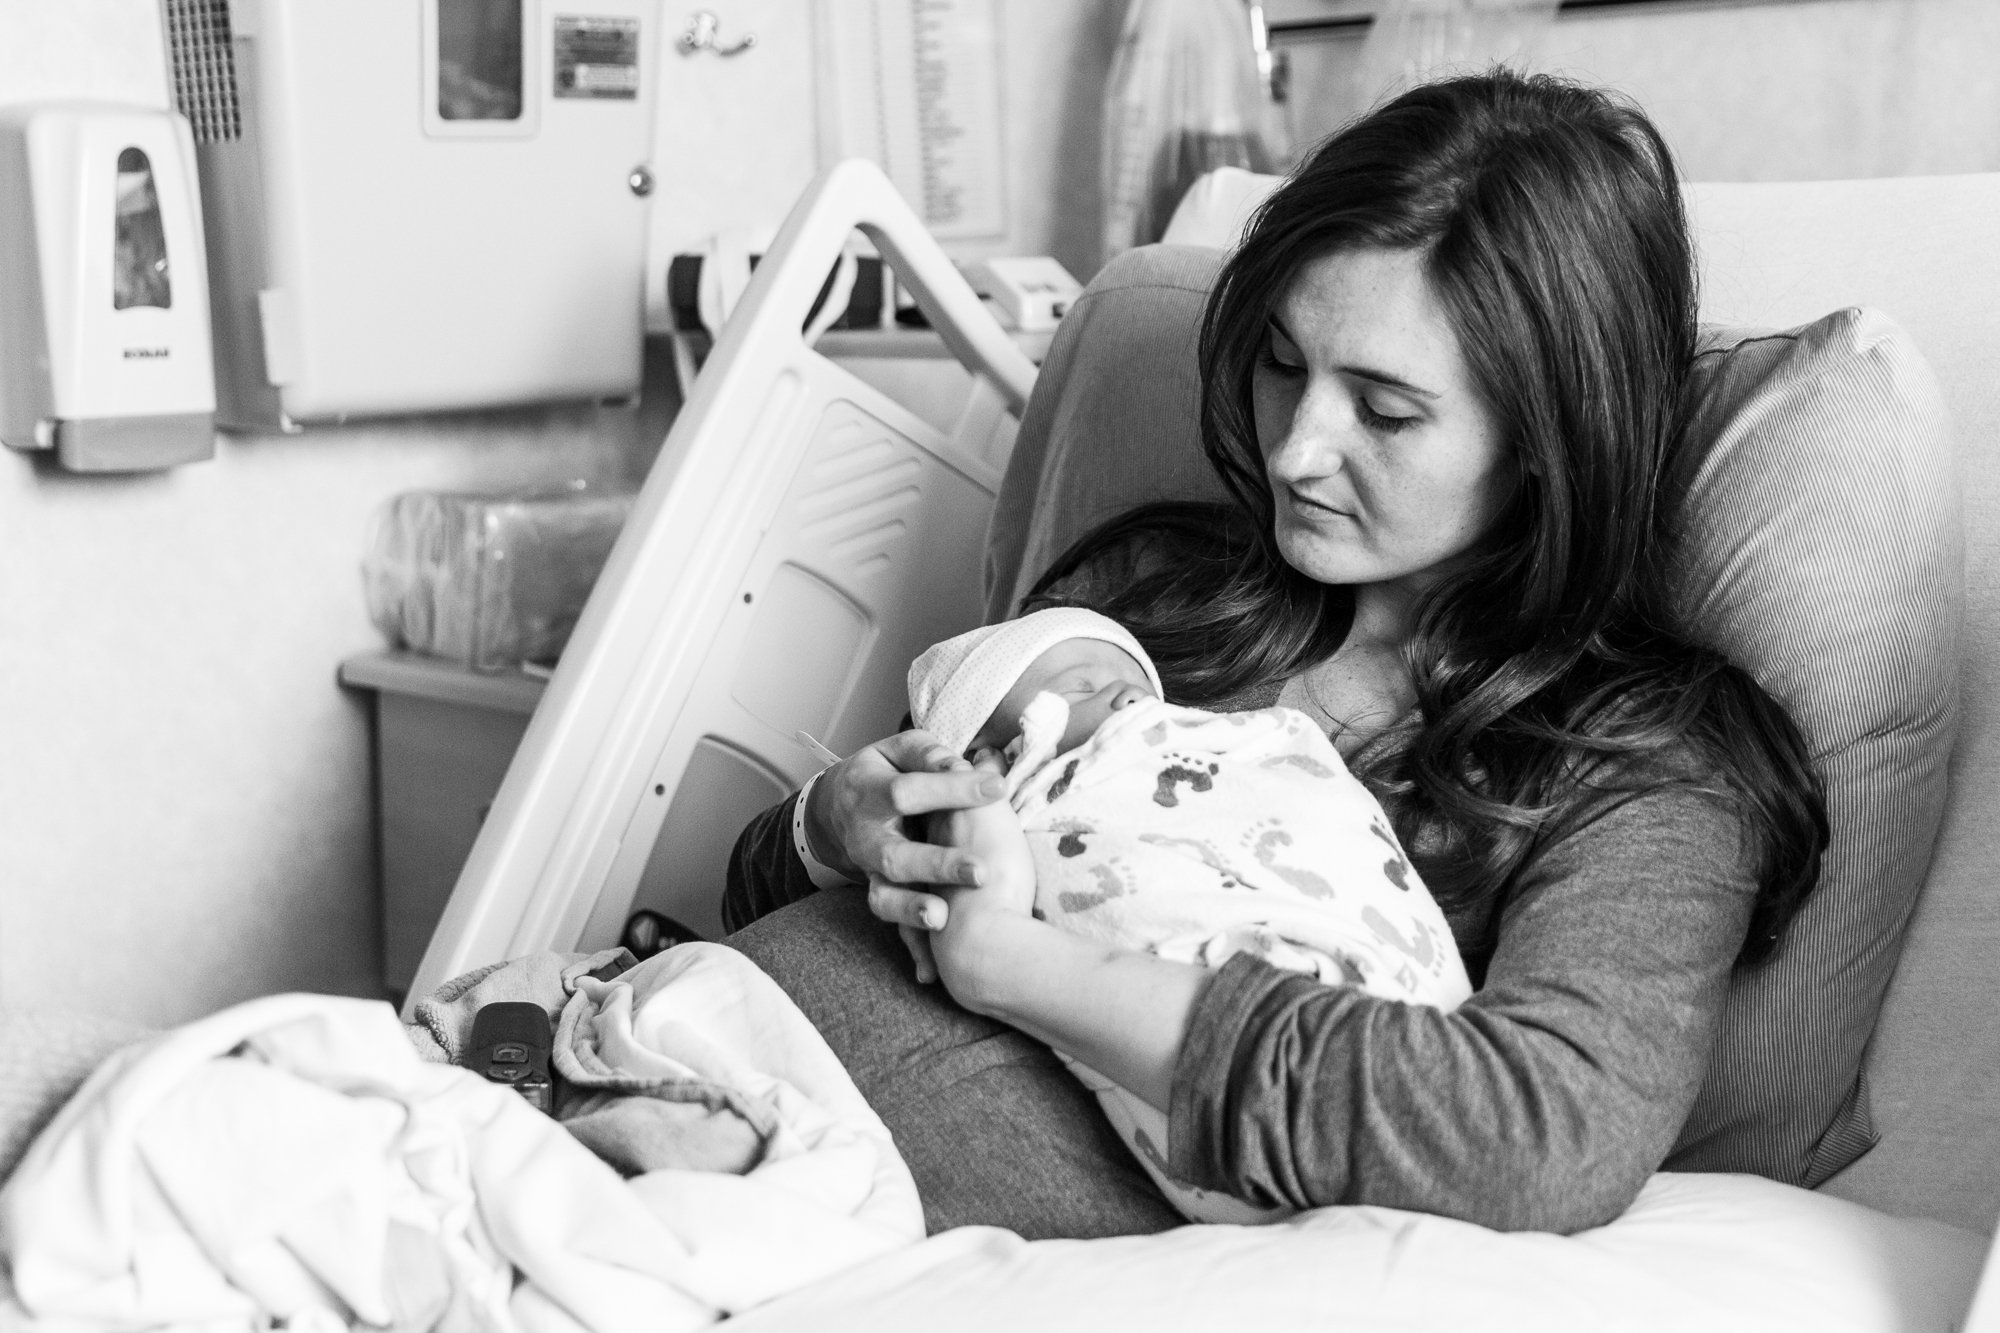
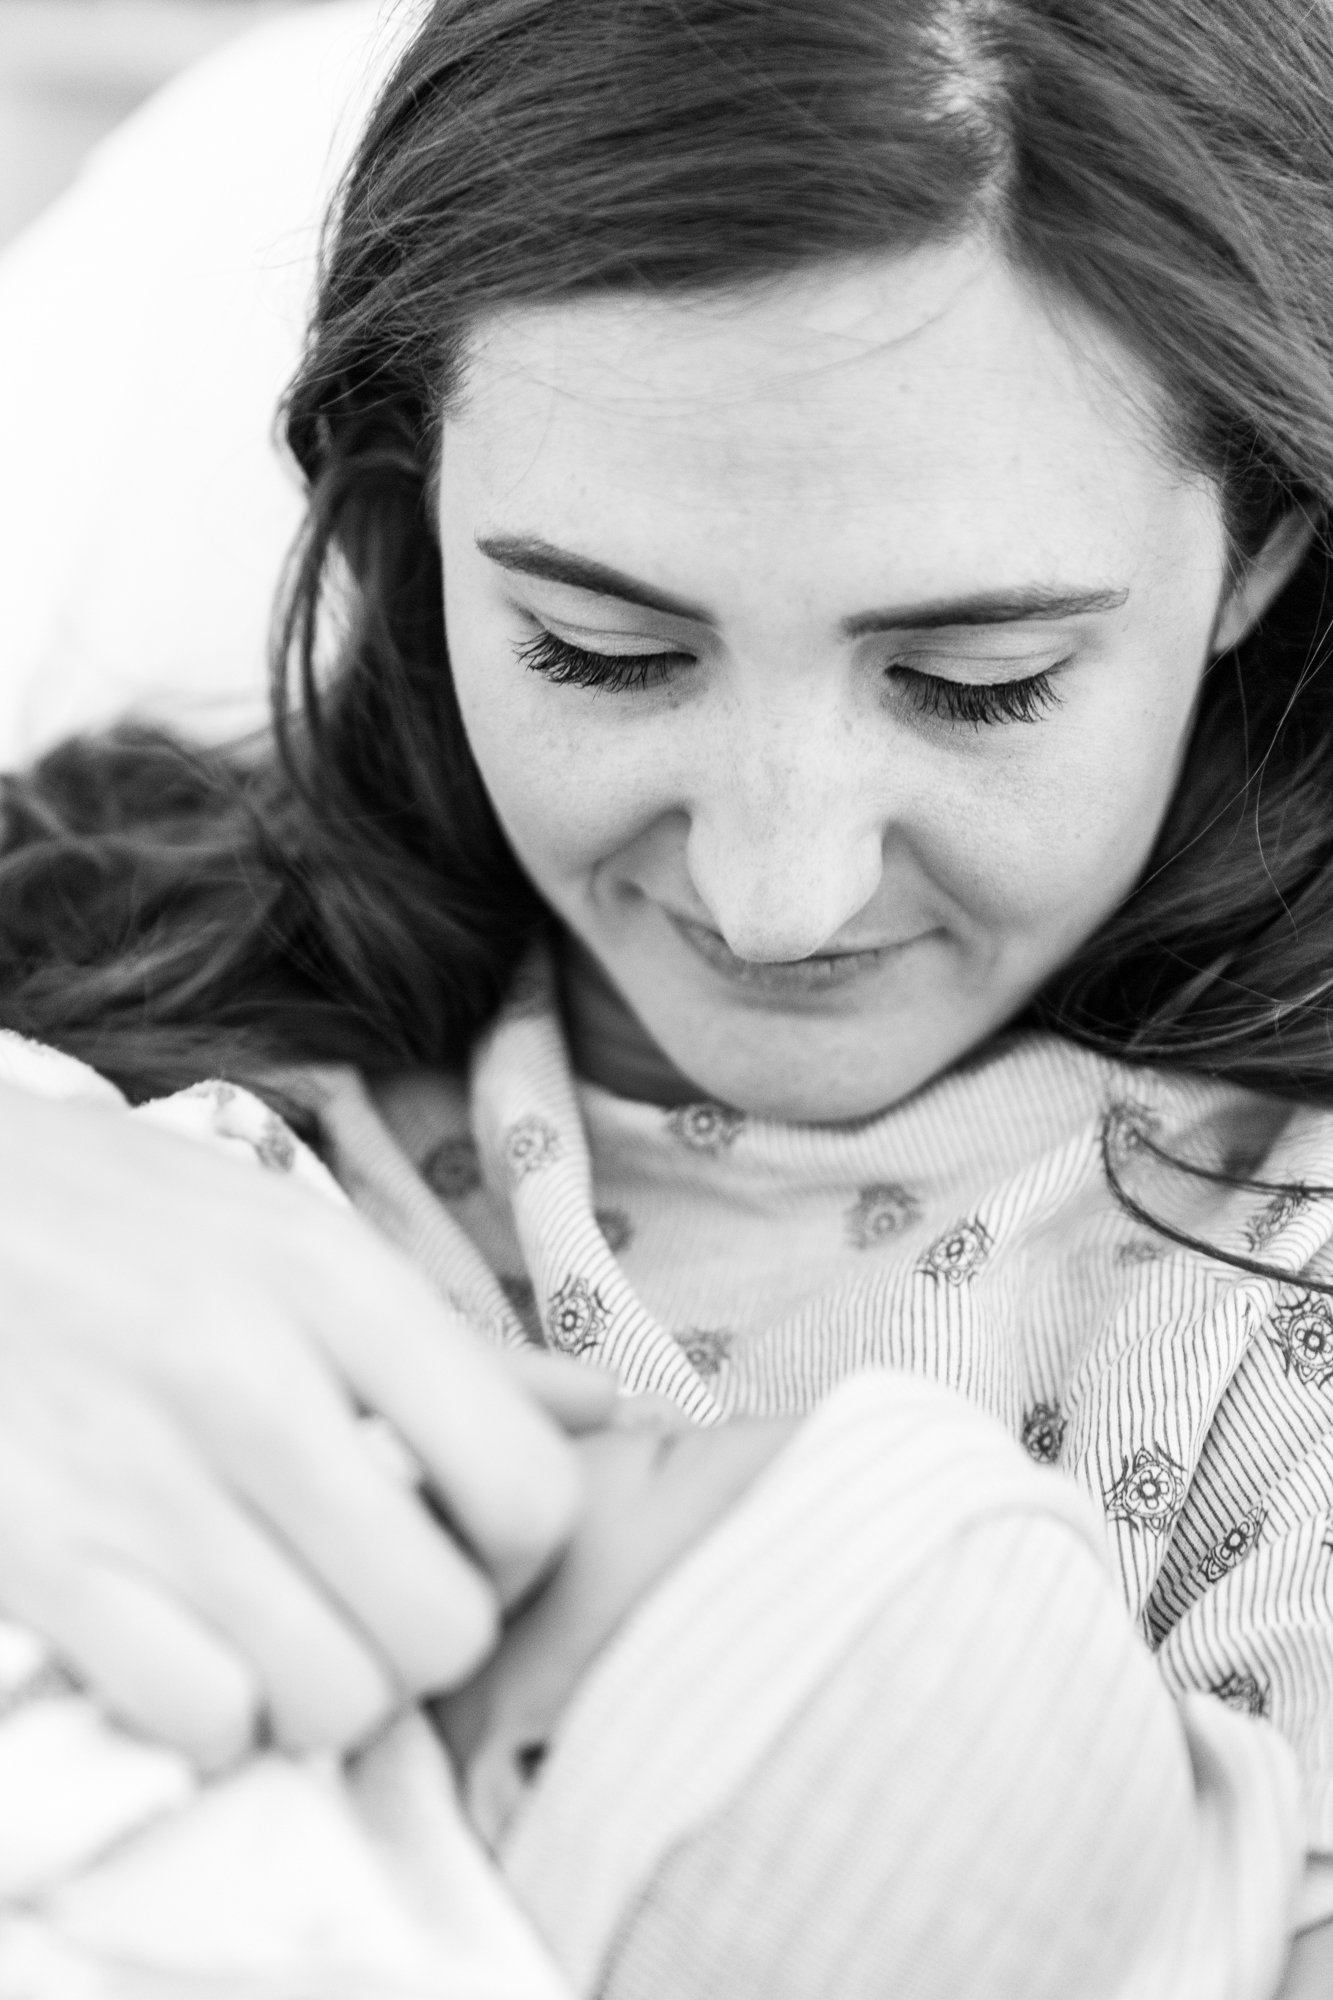
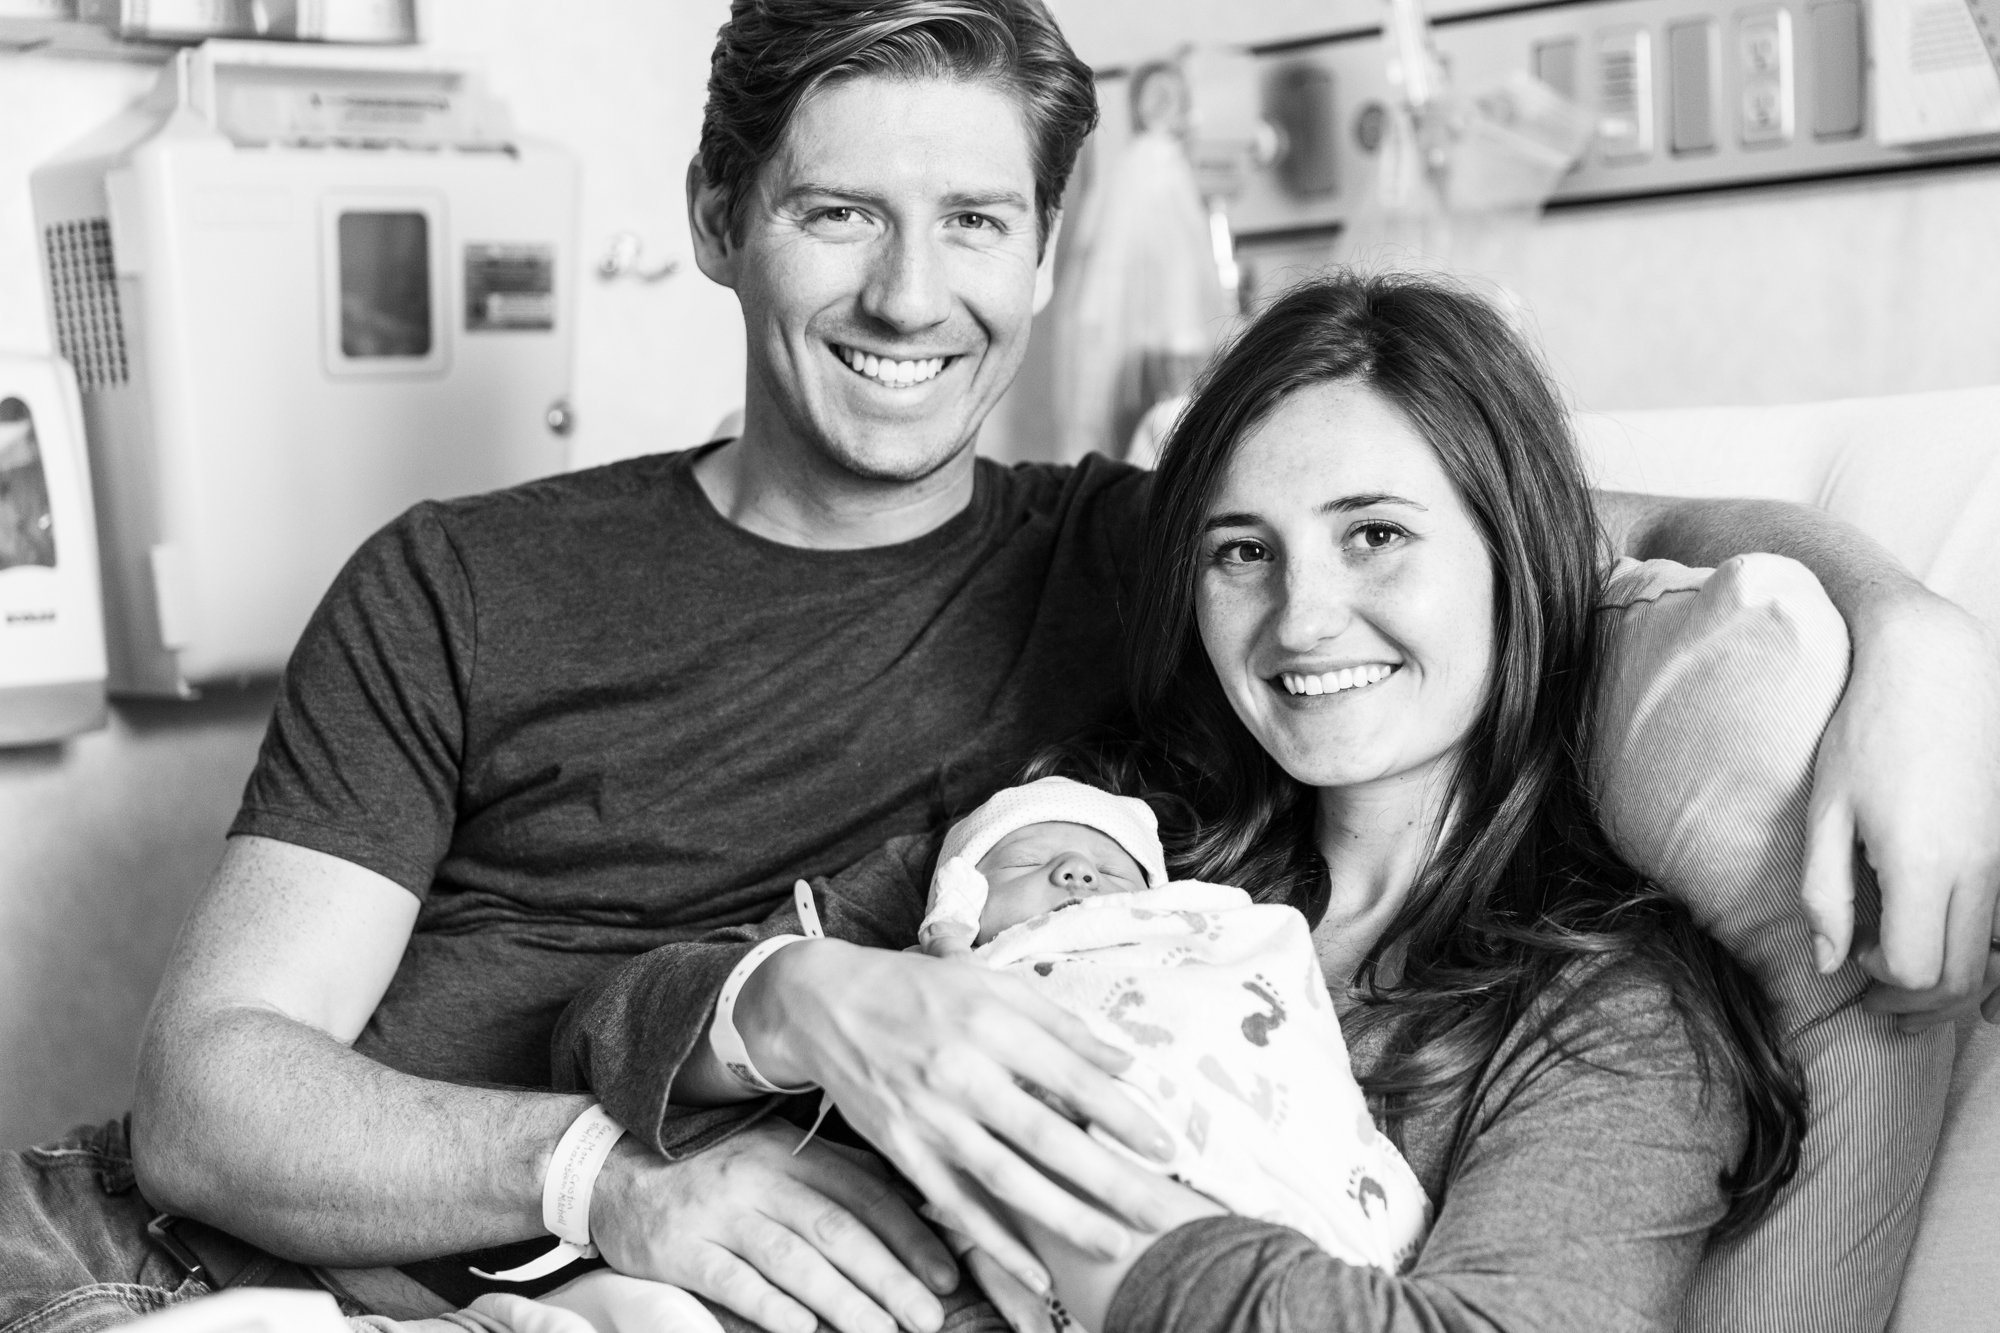
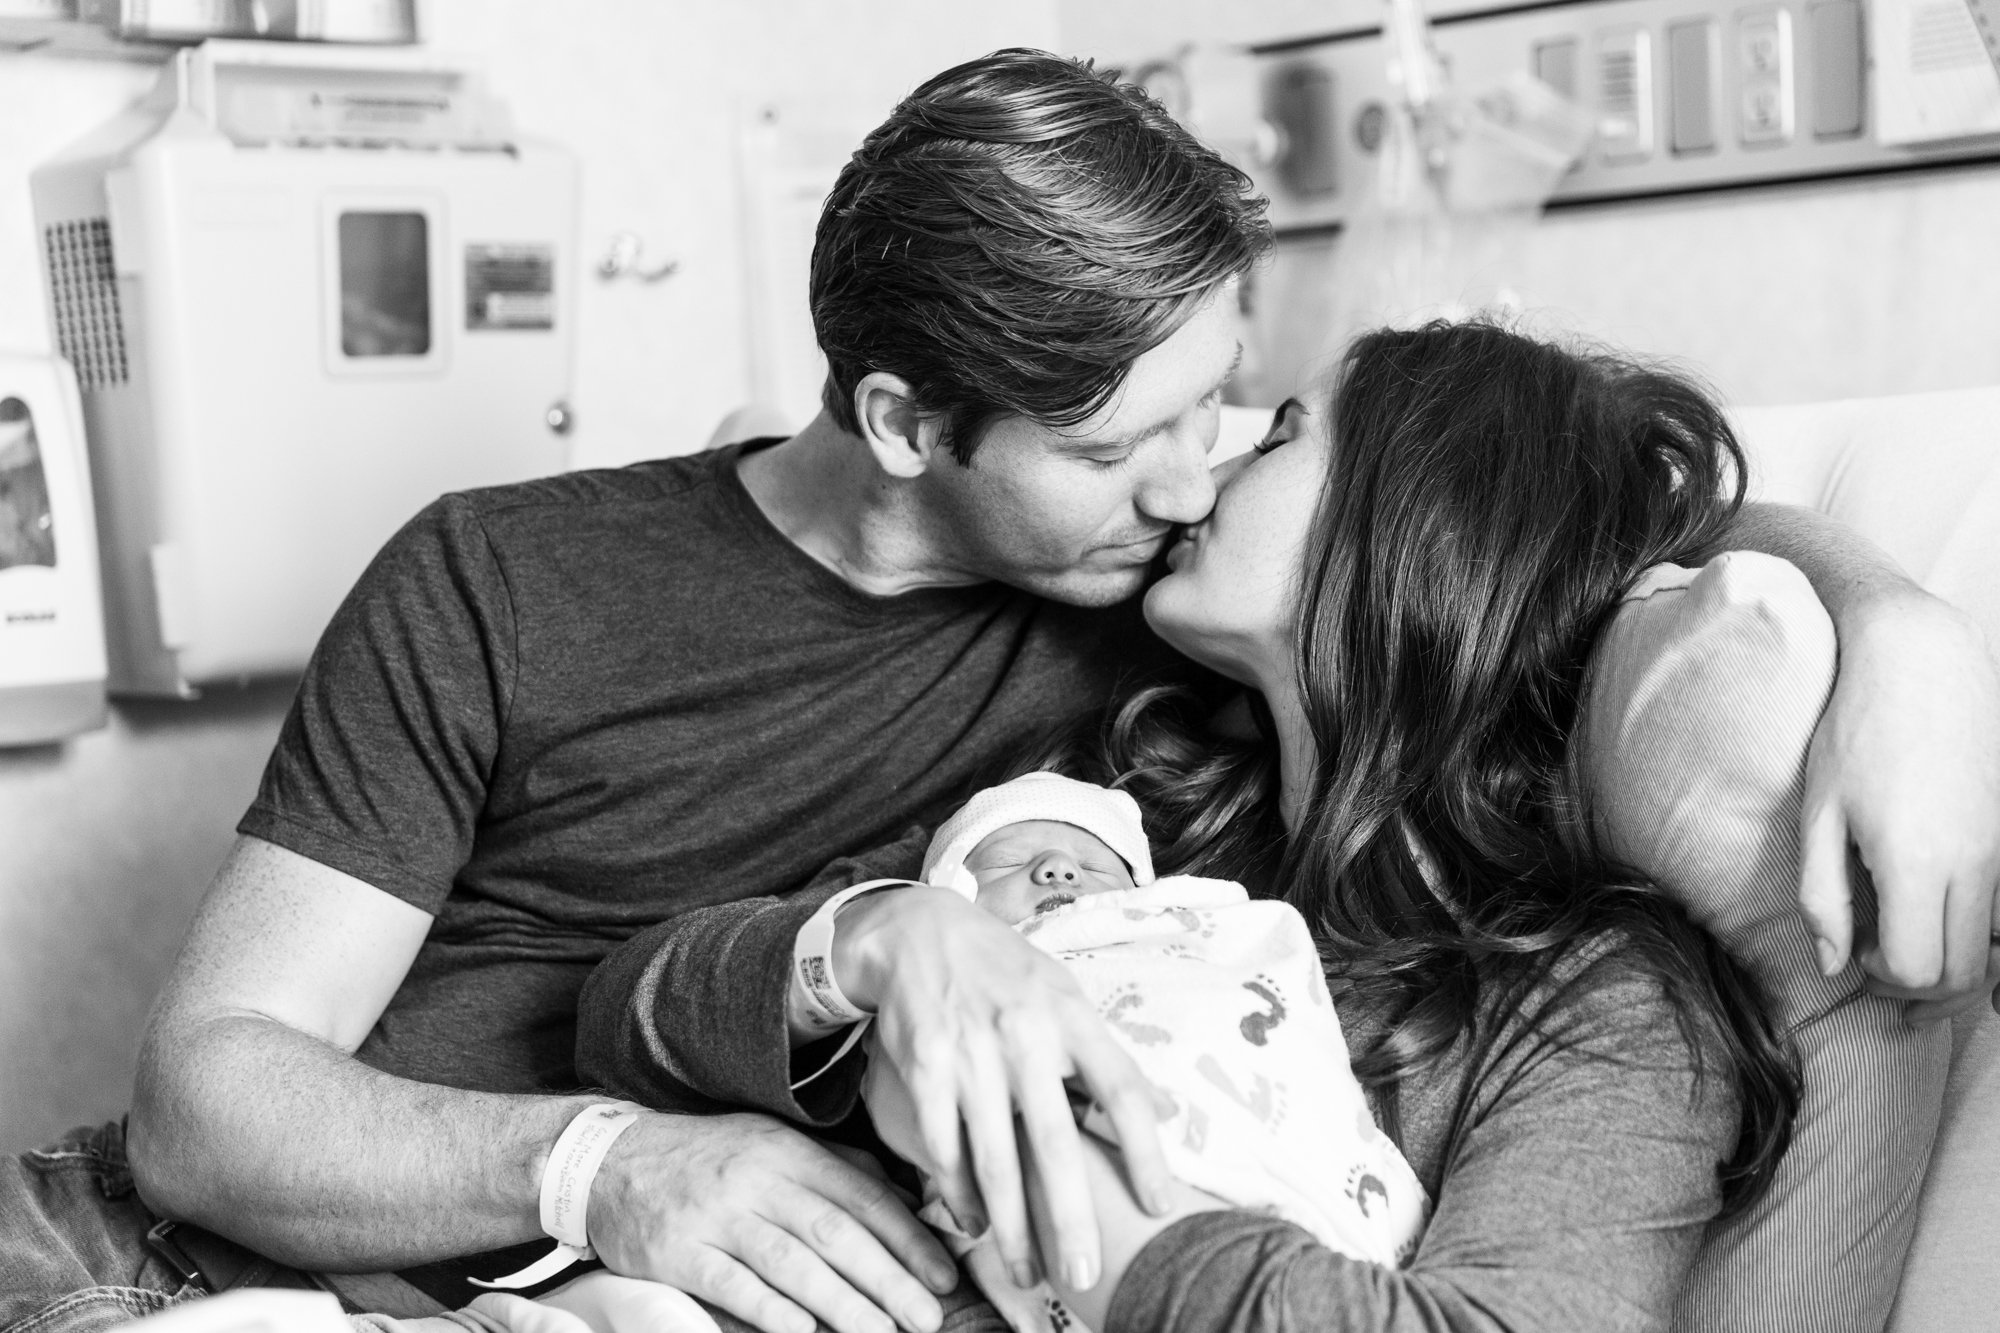
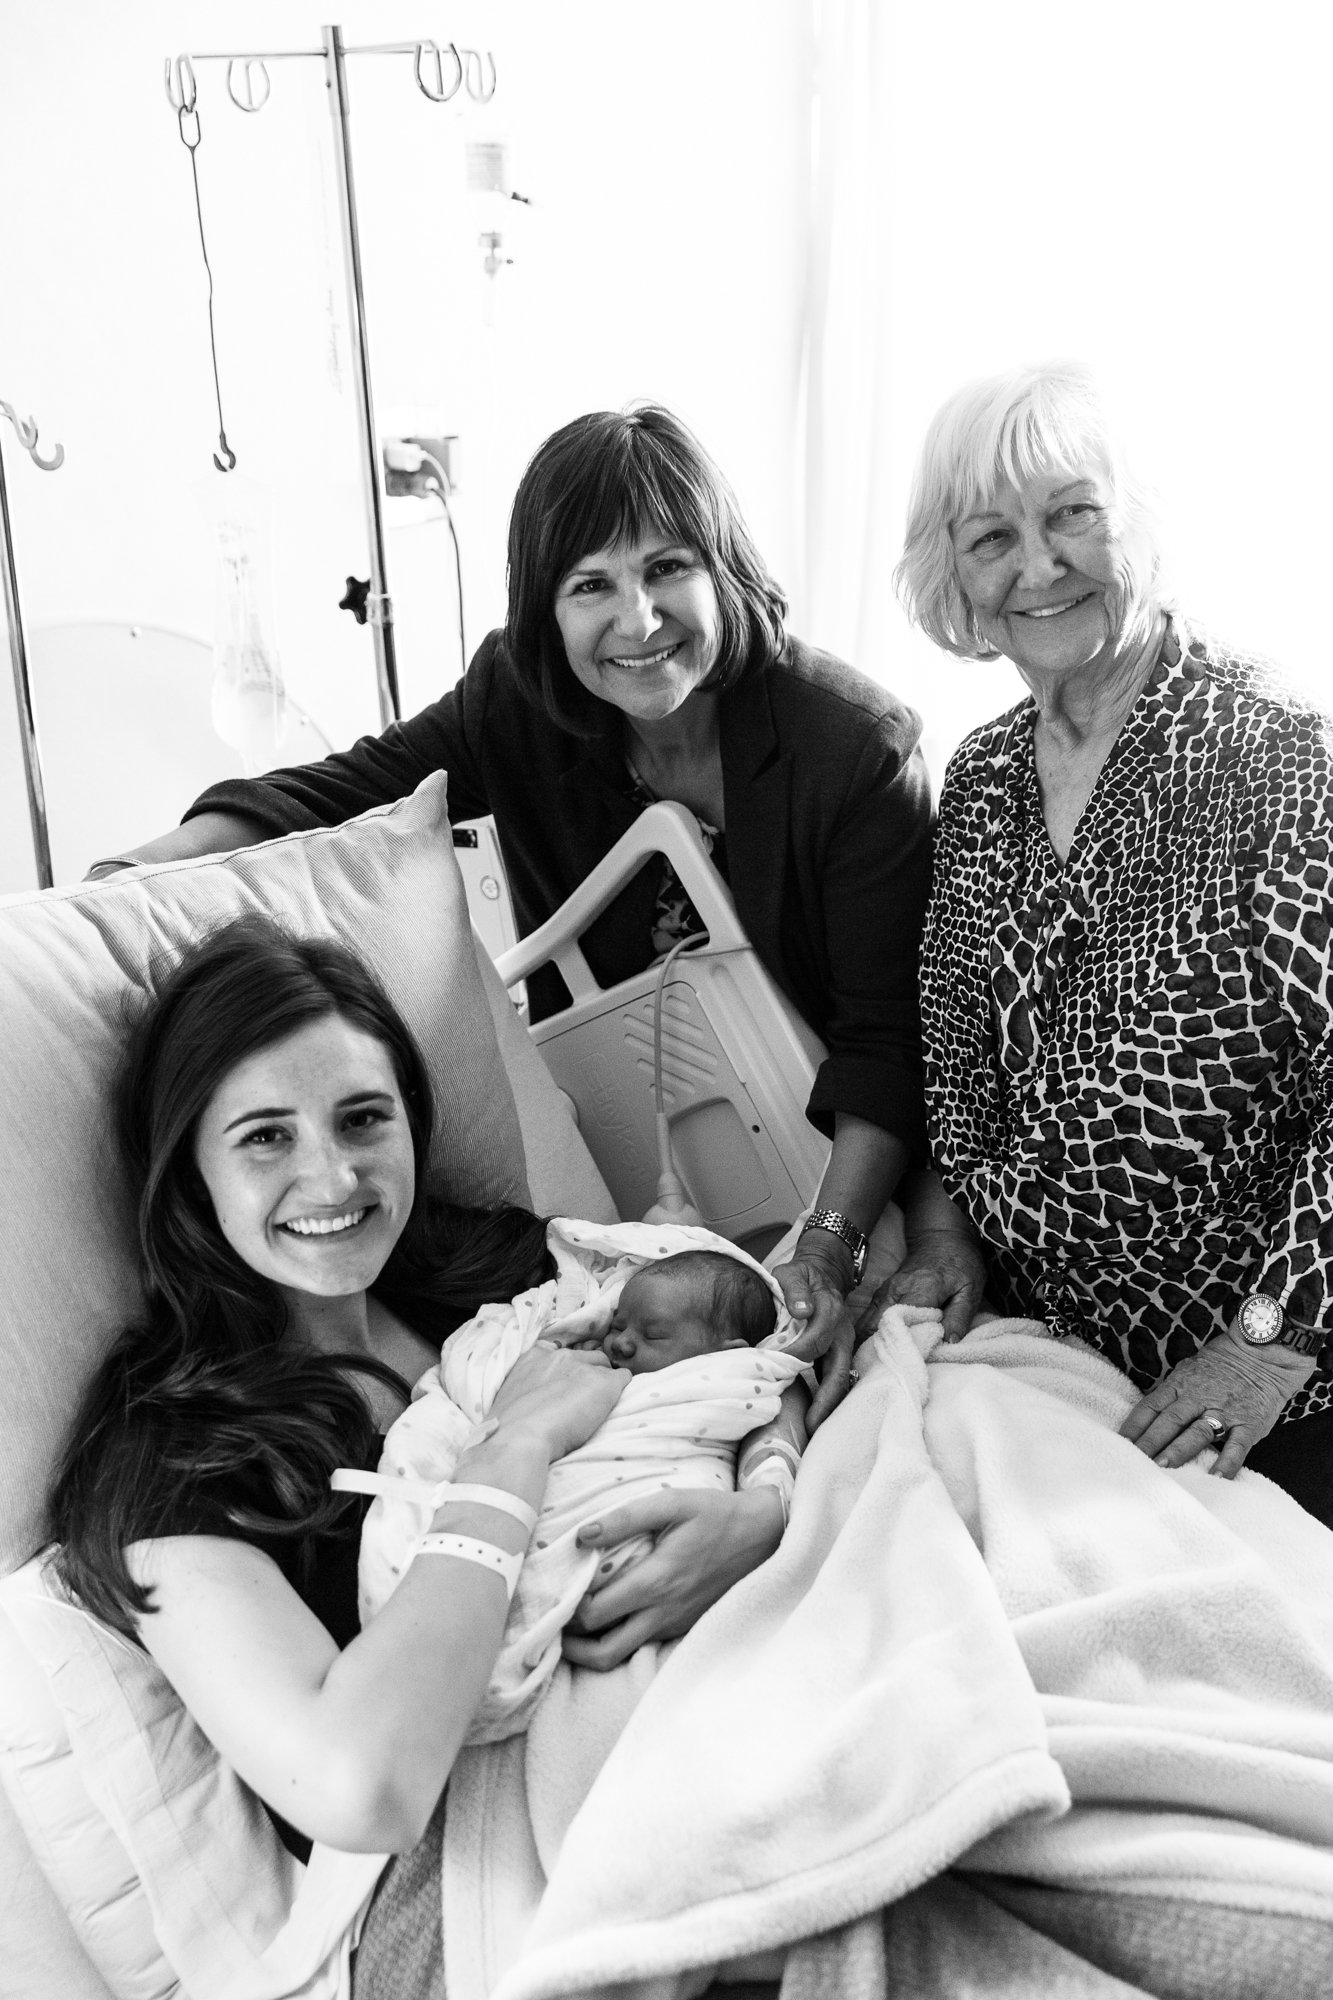
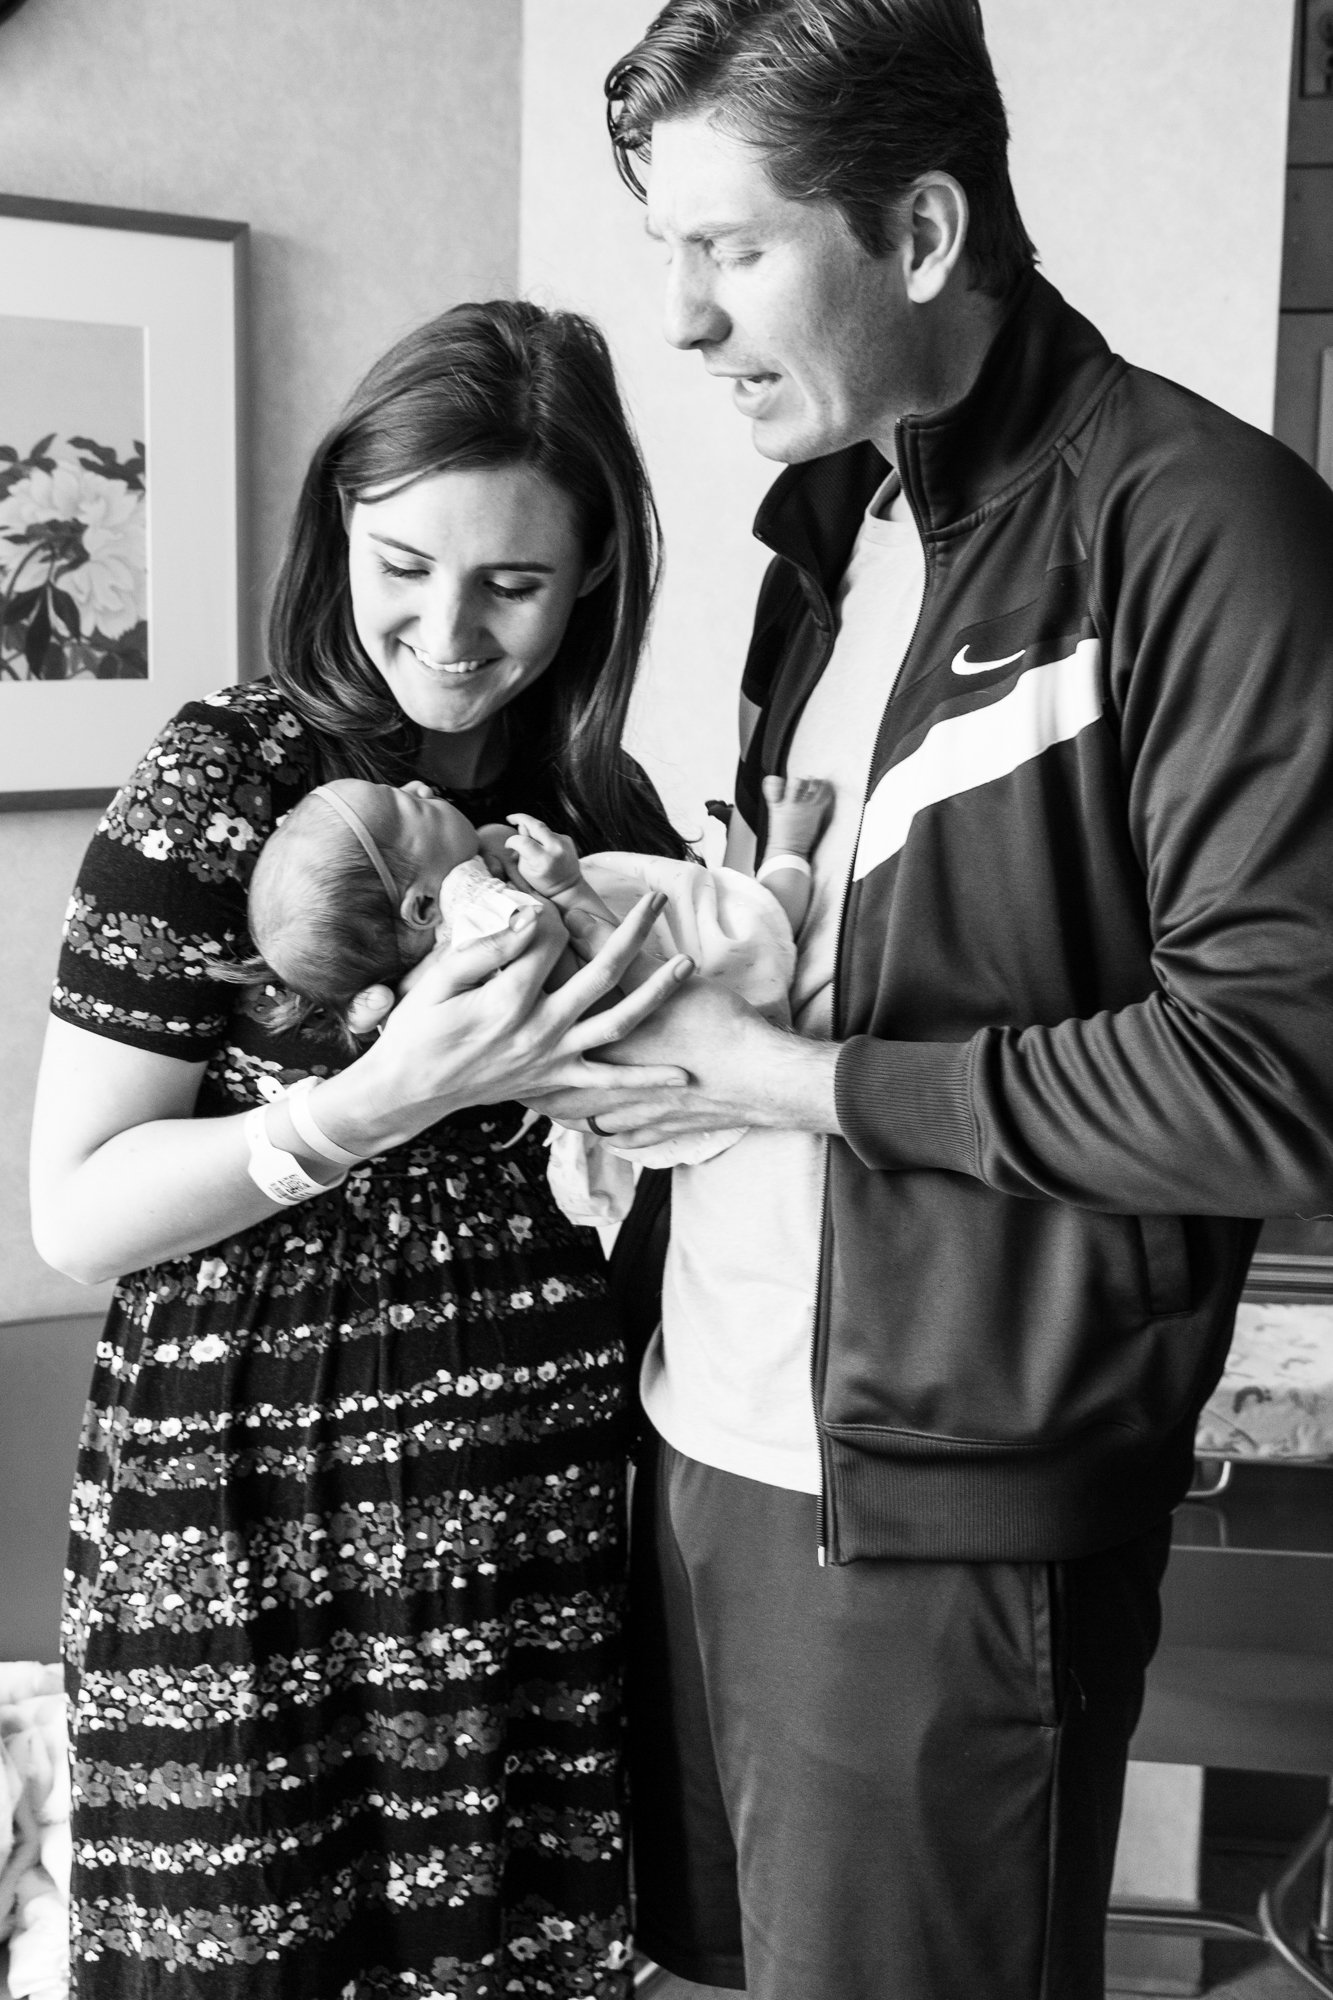
4. Get in Your Photos
I know this is a hard one, particularly after you've likely just had one of the most physically and mentally exhausting experiences of your life, but trust me on this. Ask your partner to take those photos of you and your newborn, you loving looking at the bassinet, or holding them close. Get that first family photo, either by propping your camera up on something and using the self timer function, or asking a friendly nurse if they wouldn't mind popping by the window to take the photo. You may think you look like dirt, I certainly thought I did, but now, many years later, I look at those first family photos and am so glad I was in them. I earned those bags under my eyes, and despite how I looked, I was just so happy to have my baby in my arms and that feeling comes across on film. Plus, no one has to see these photos but you, unless you have a photography blog and are writing a piece like this :).
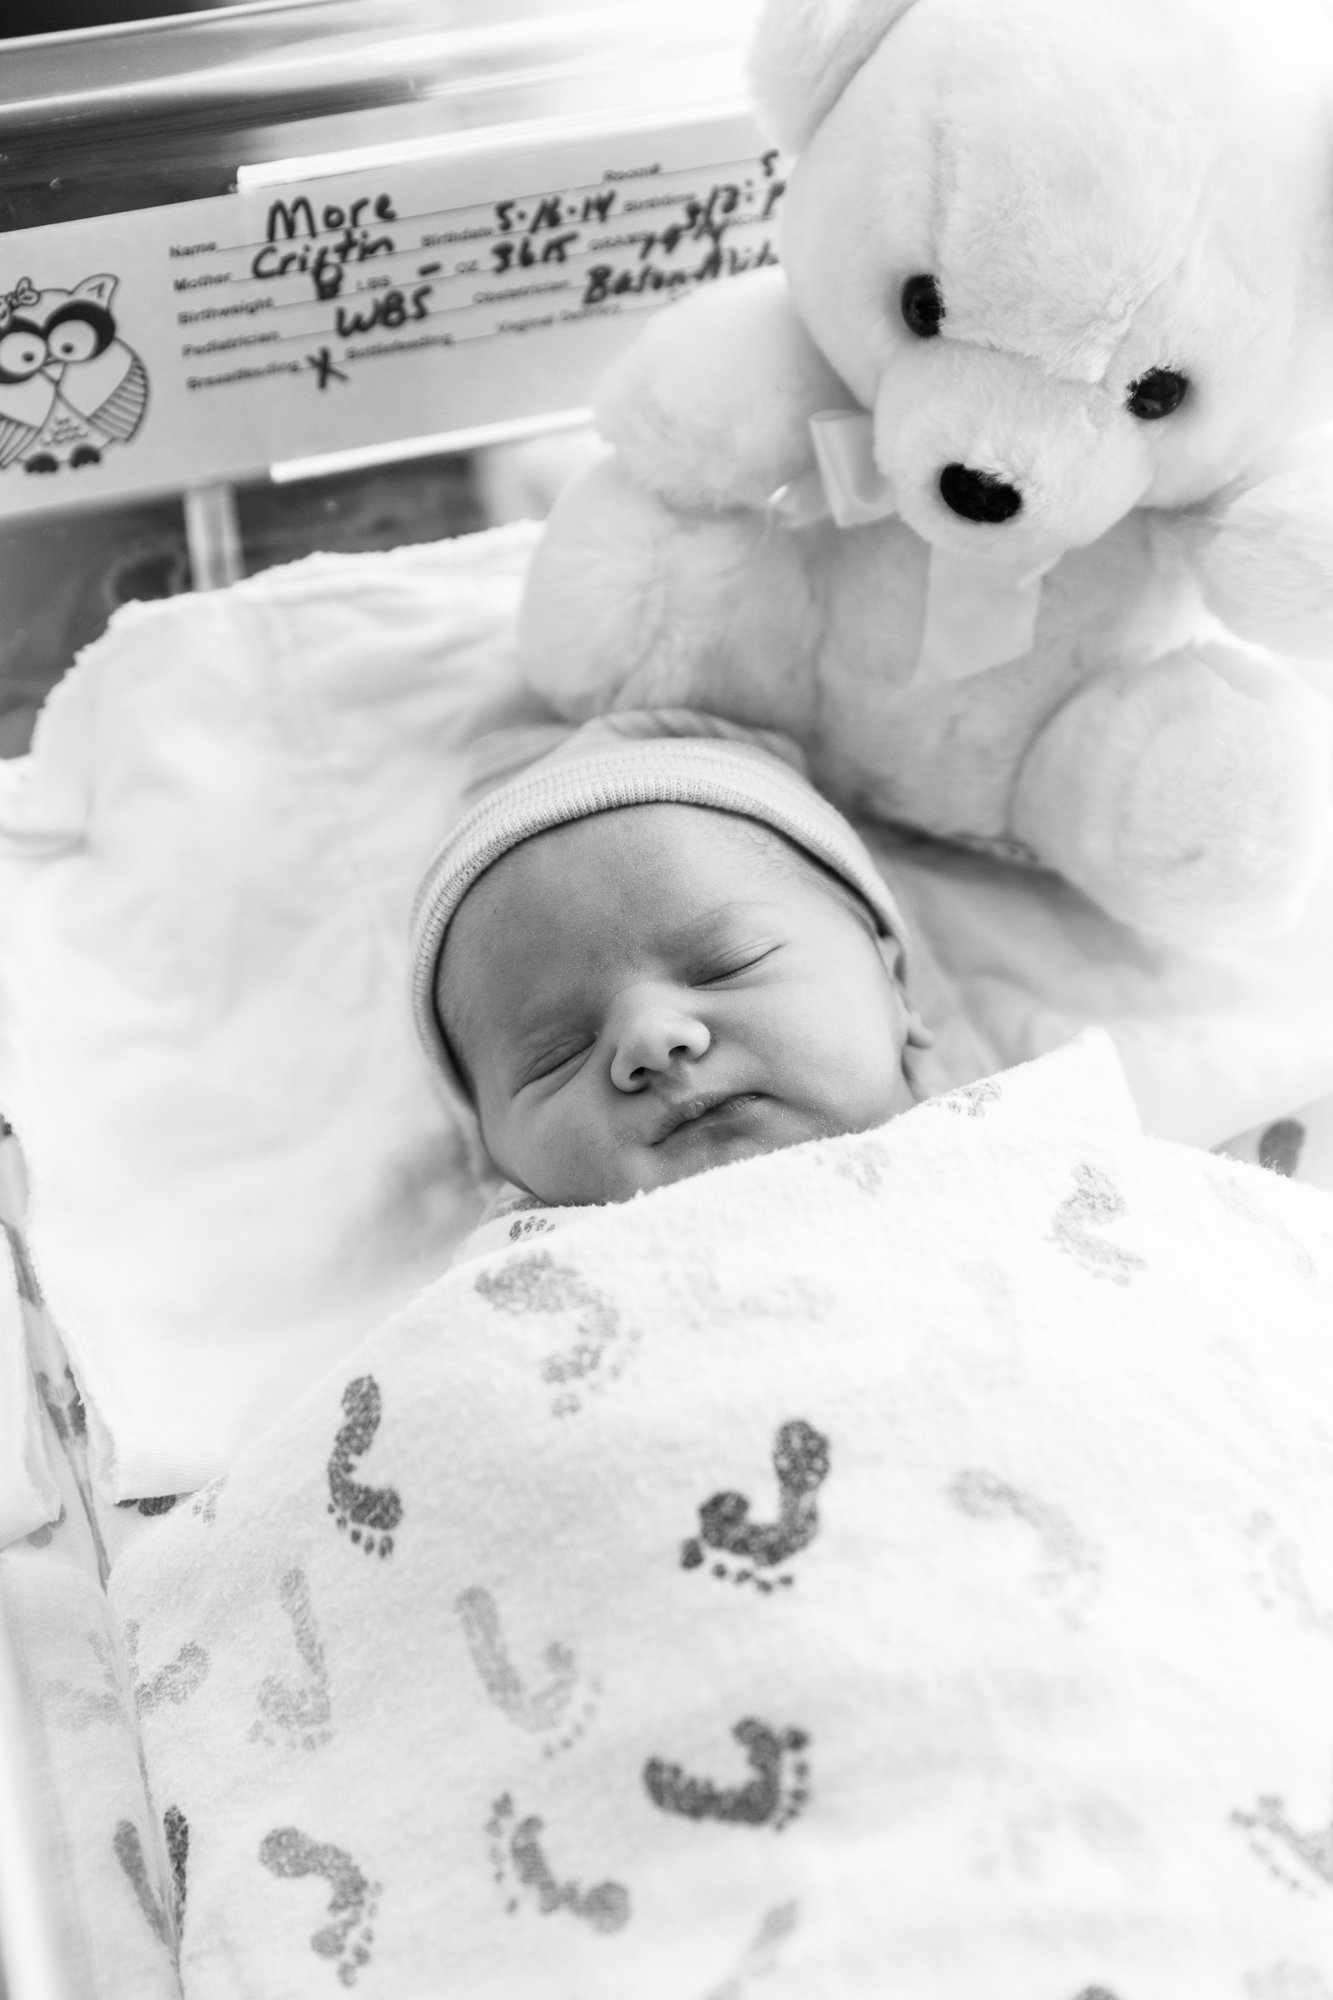
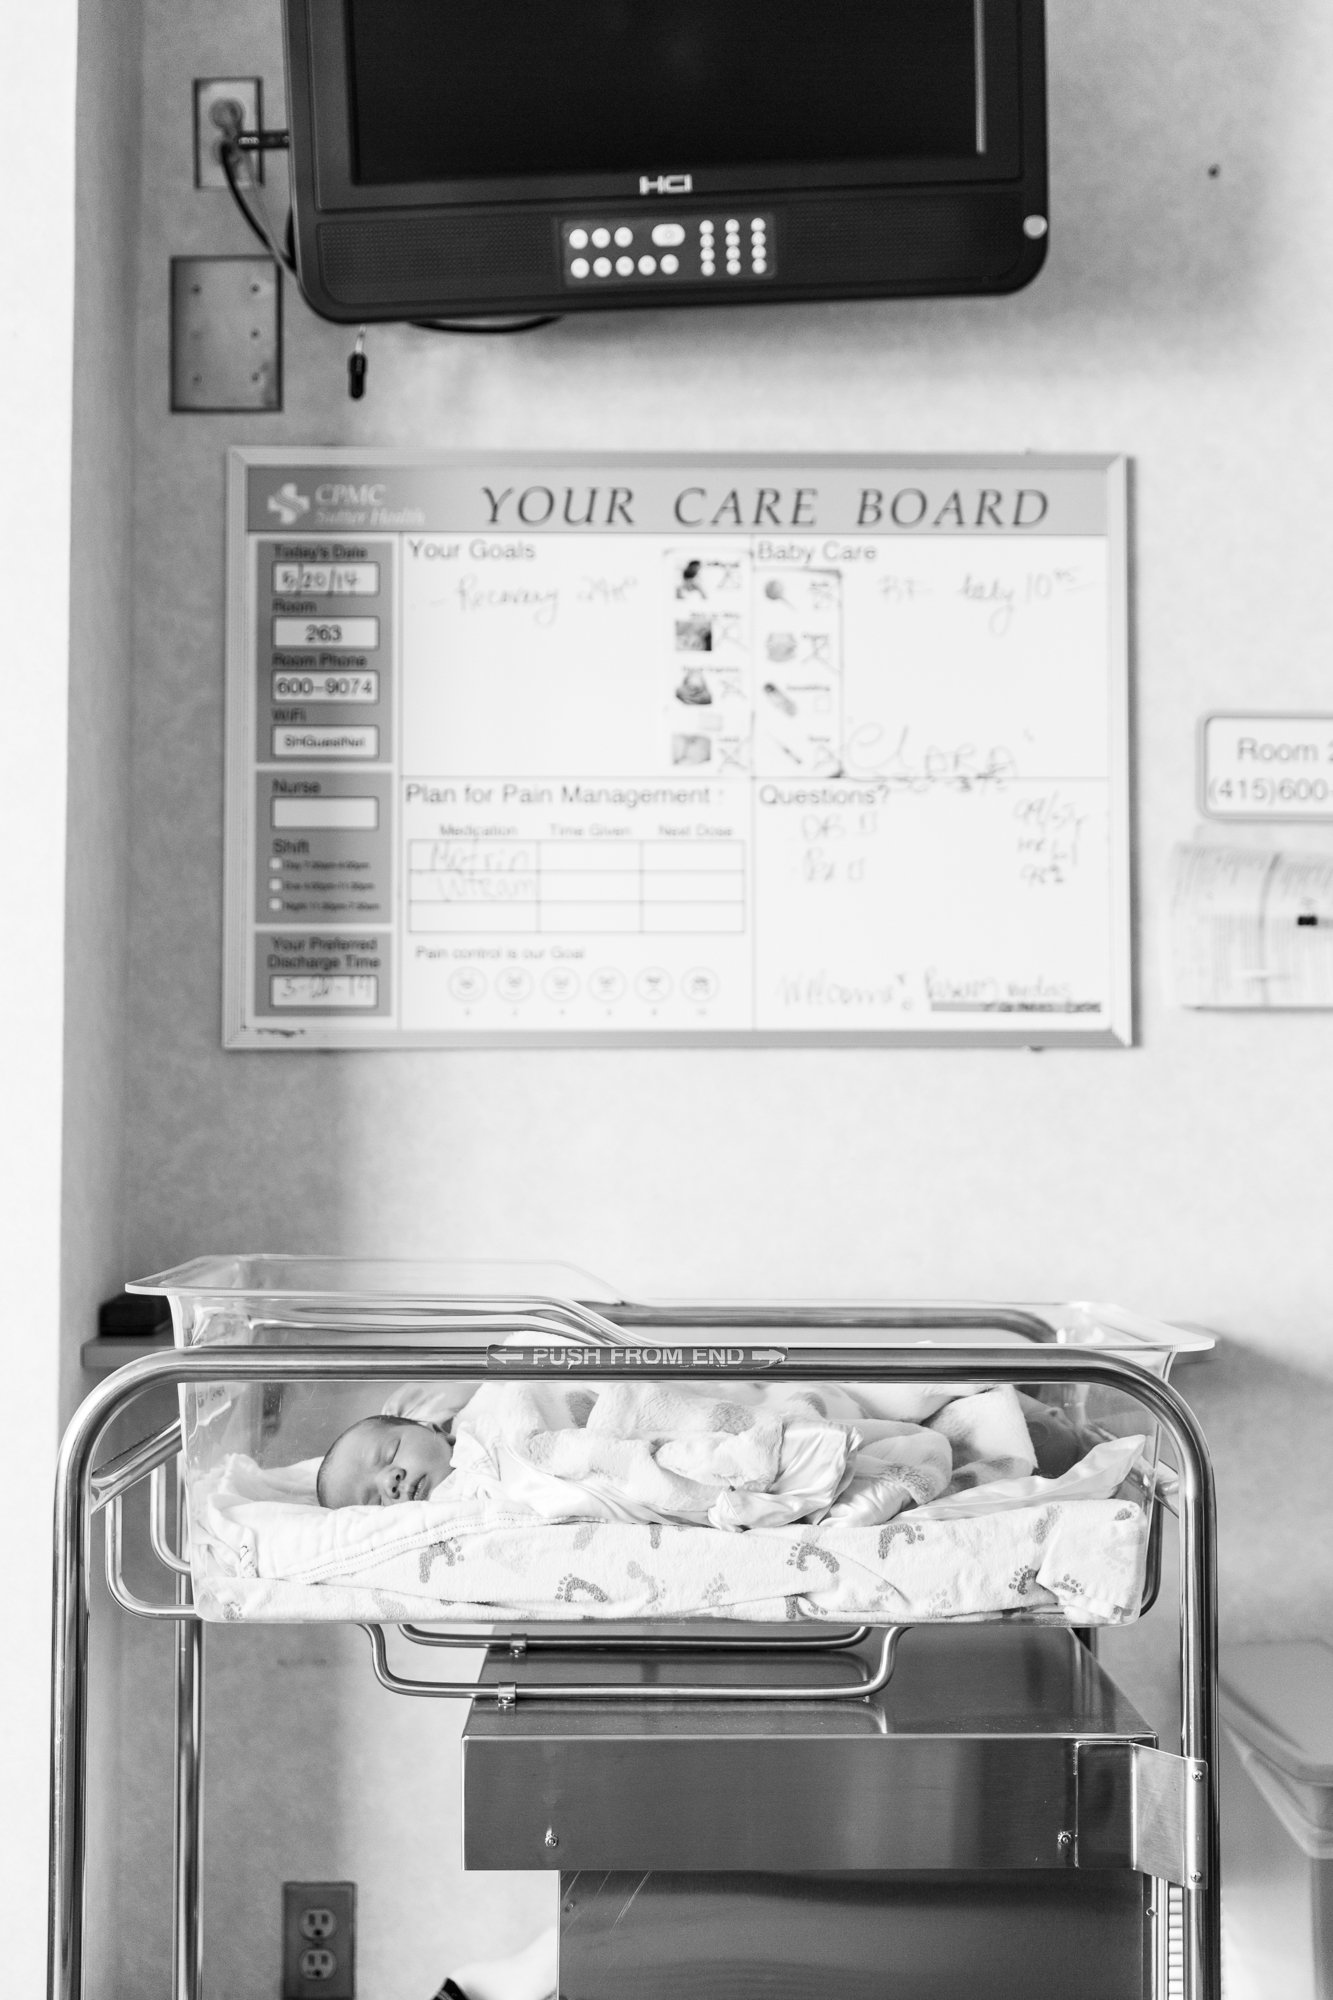
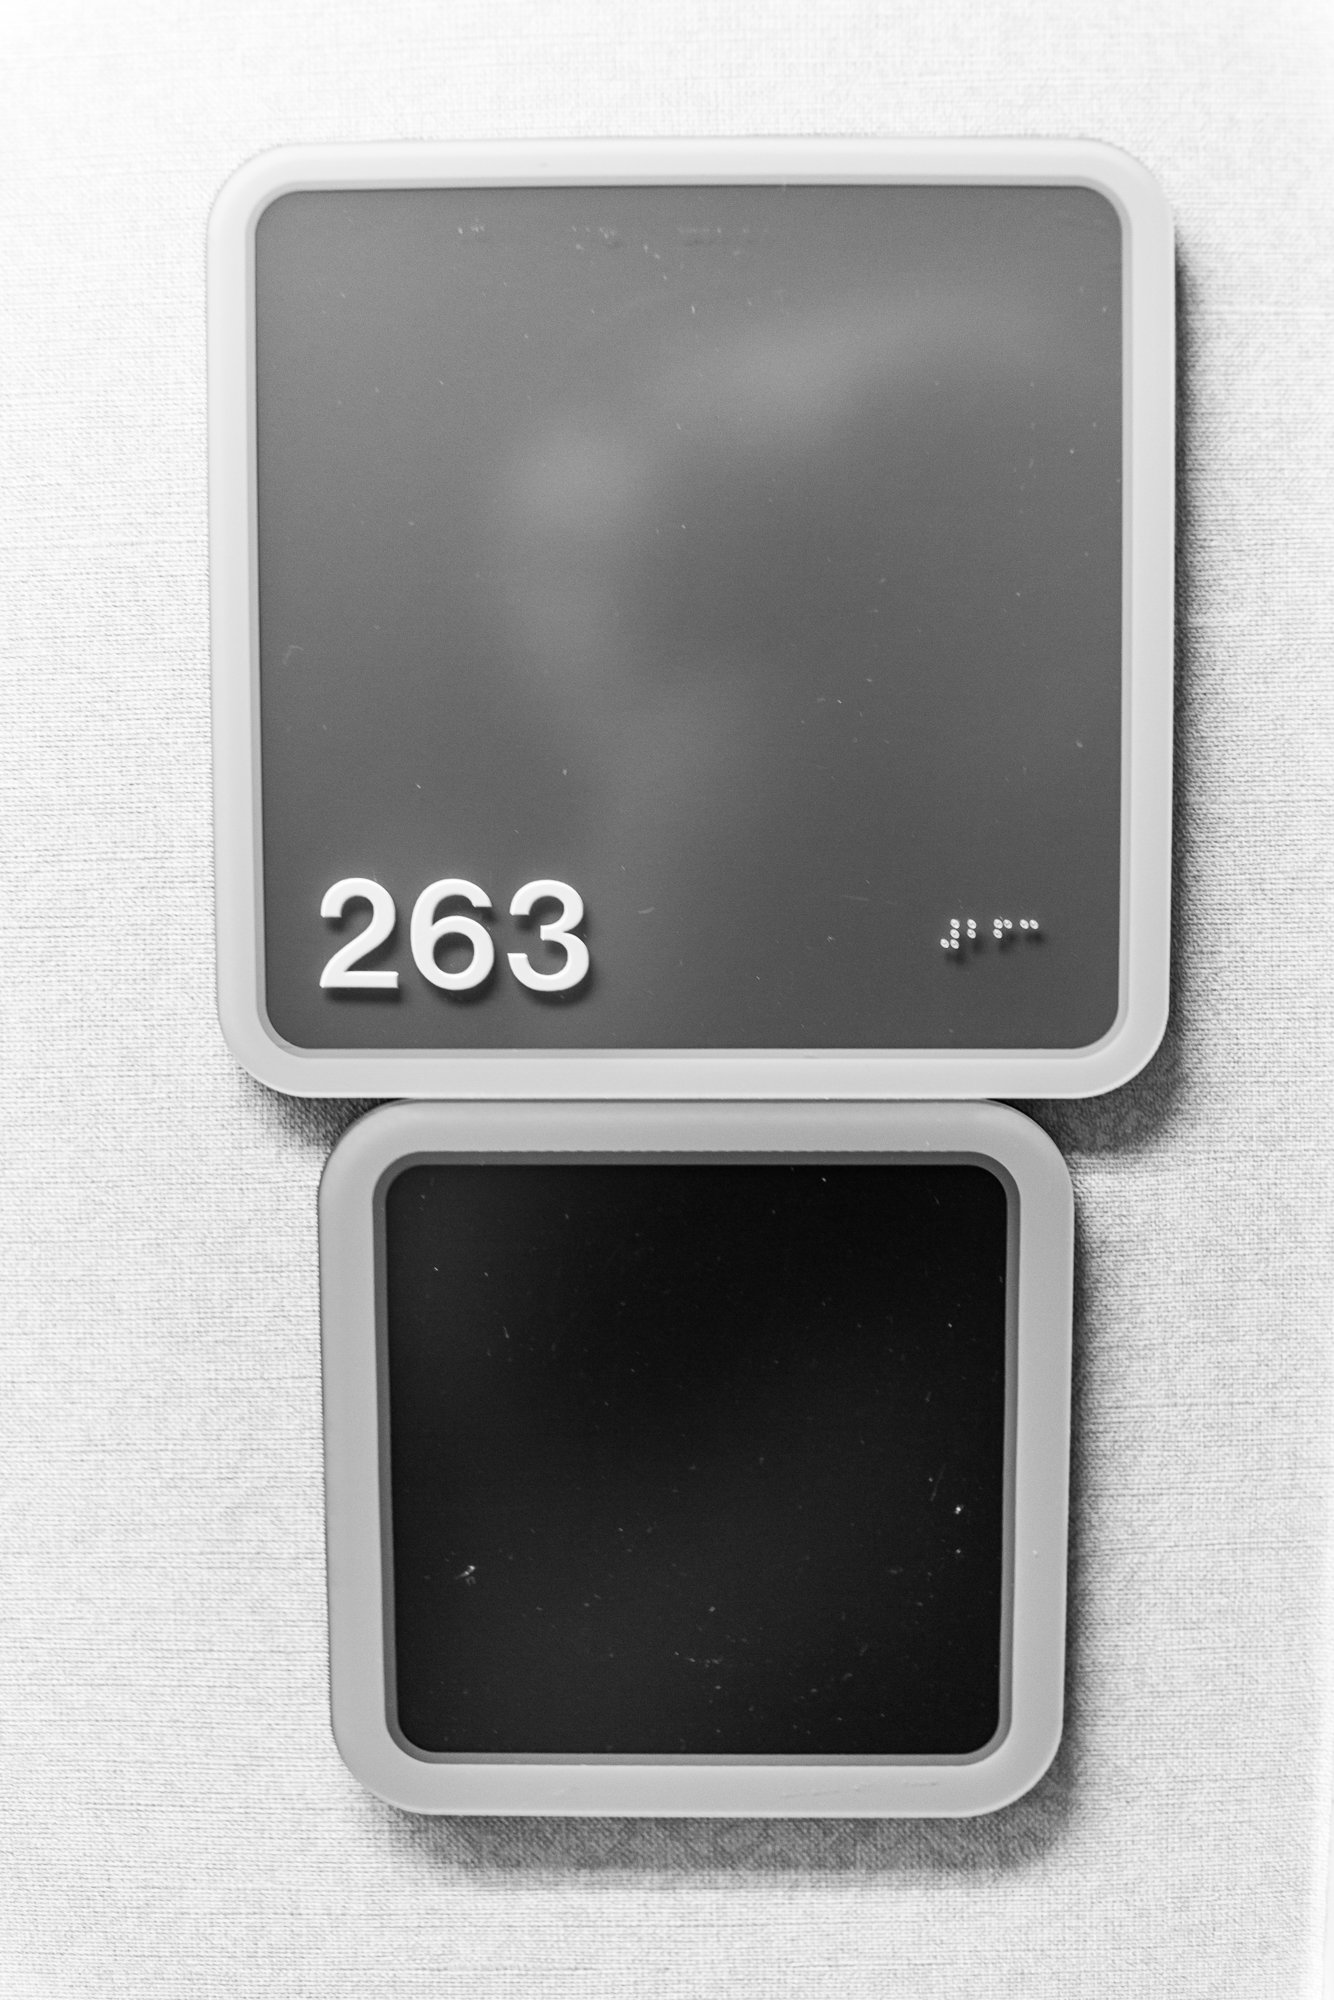
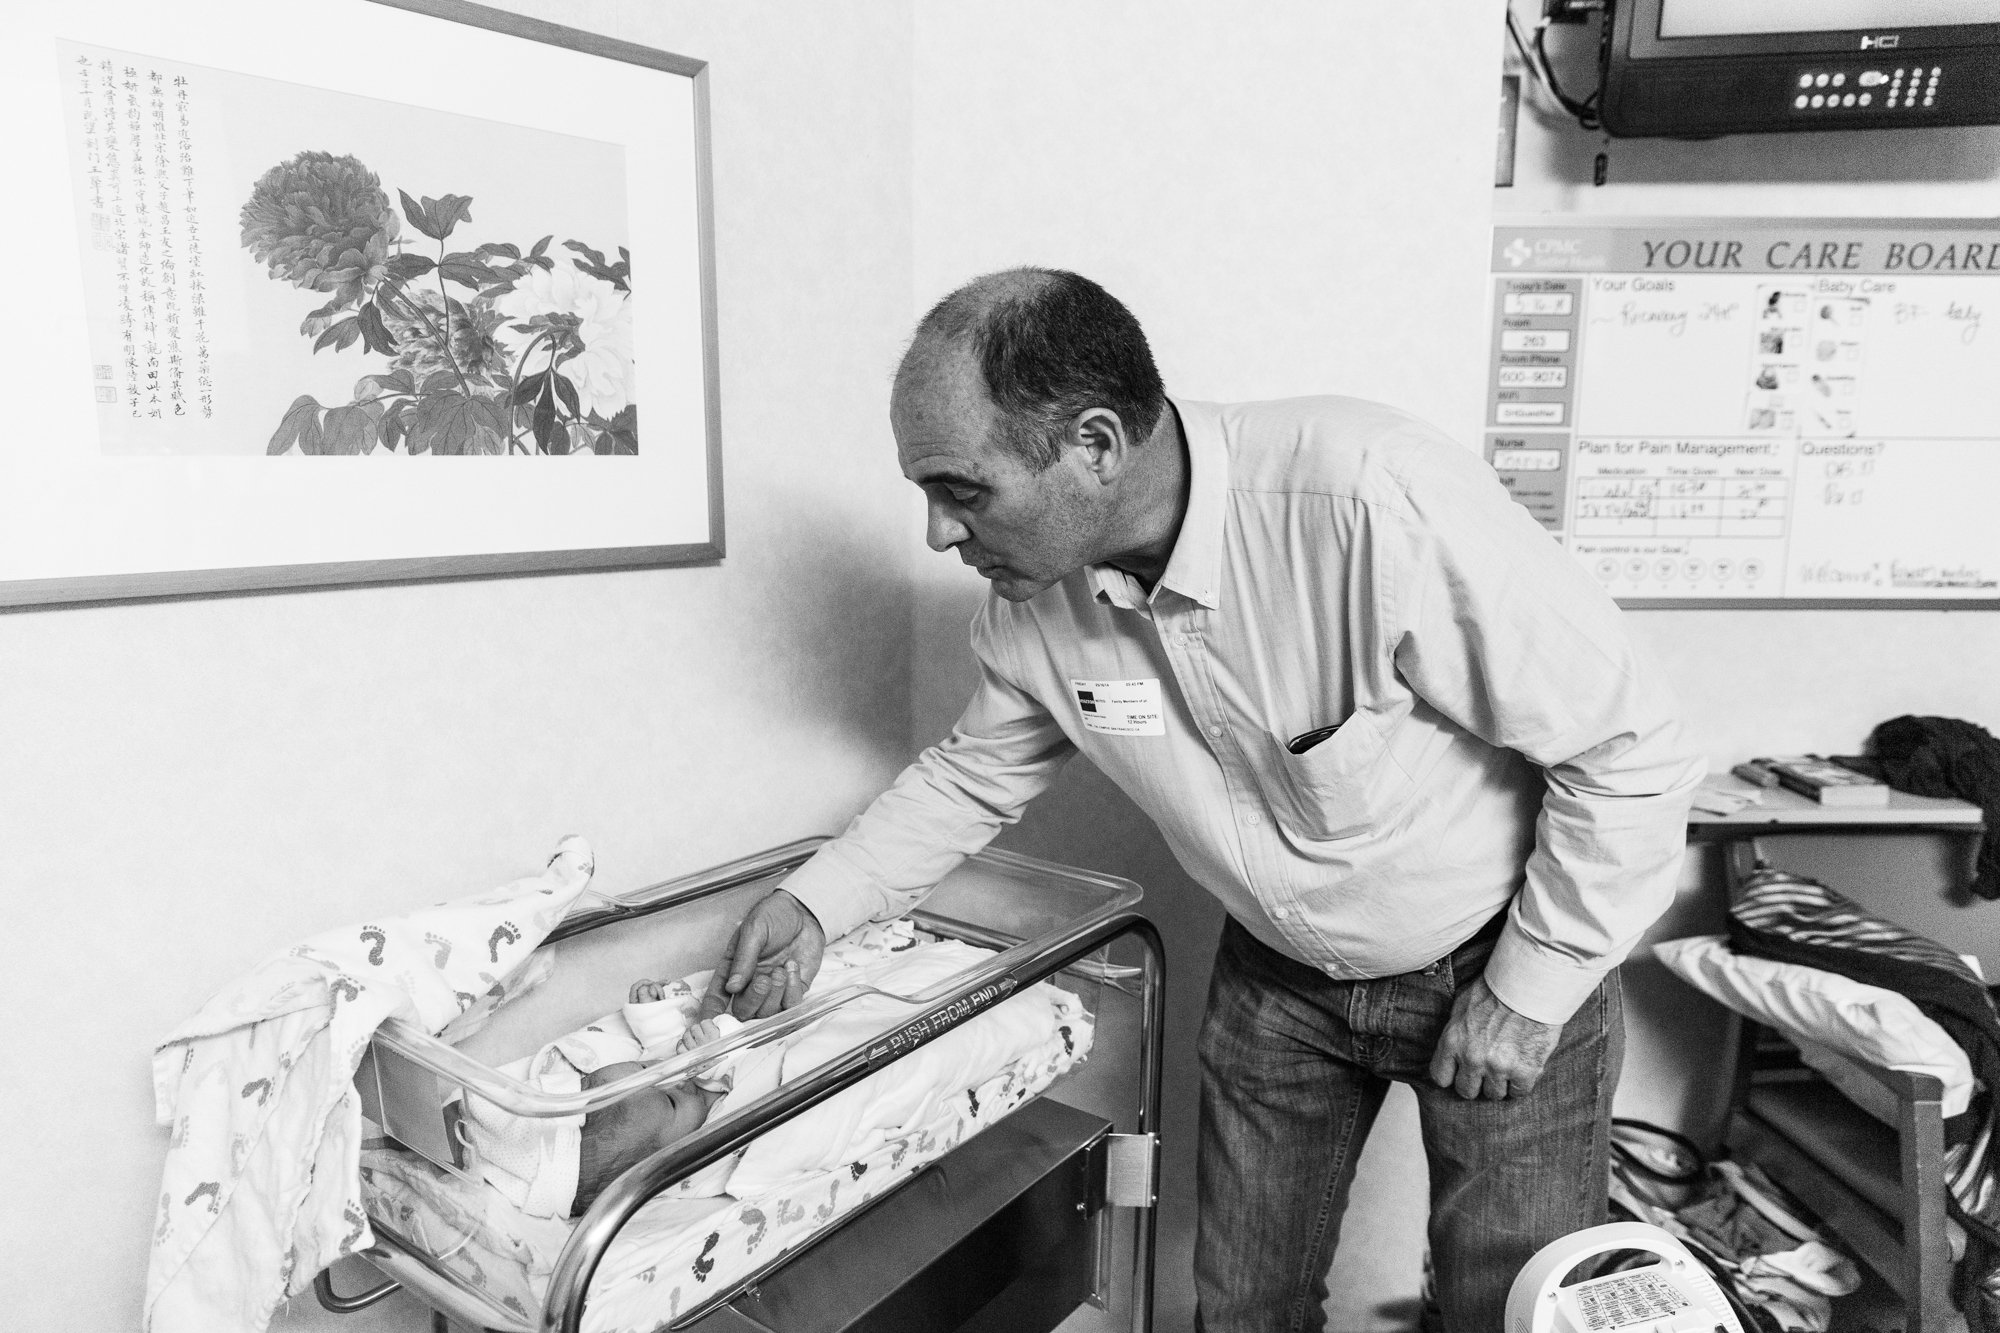
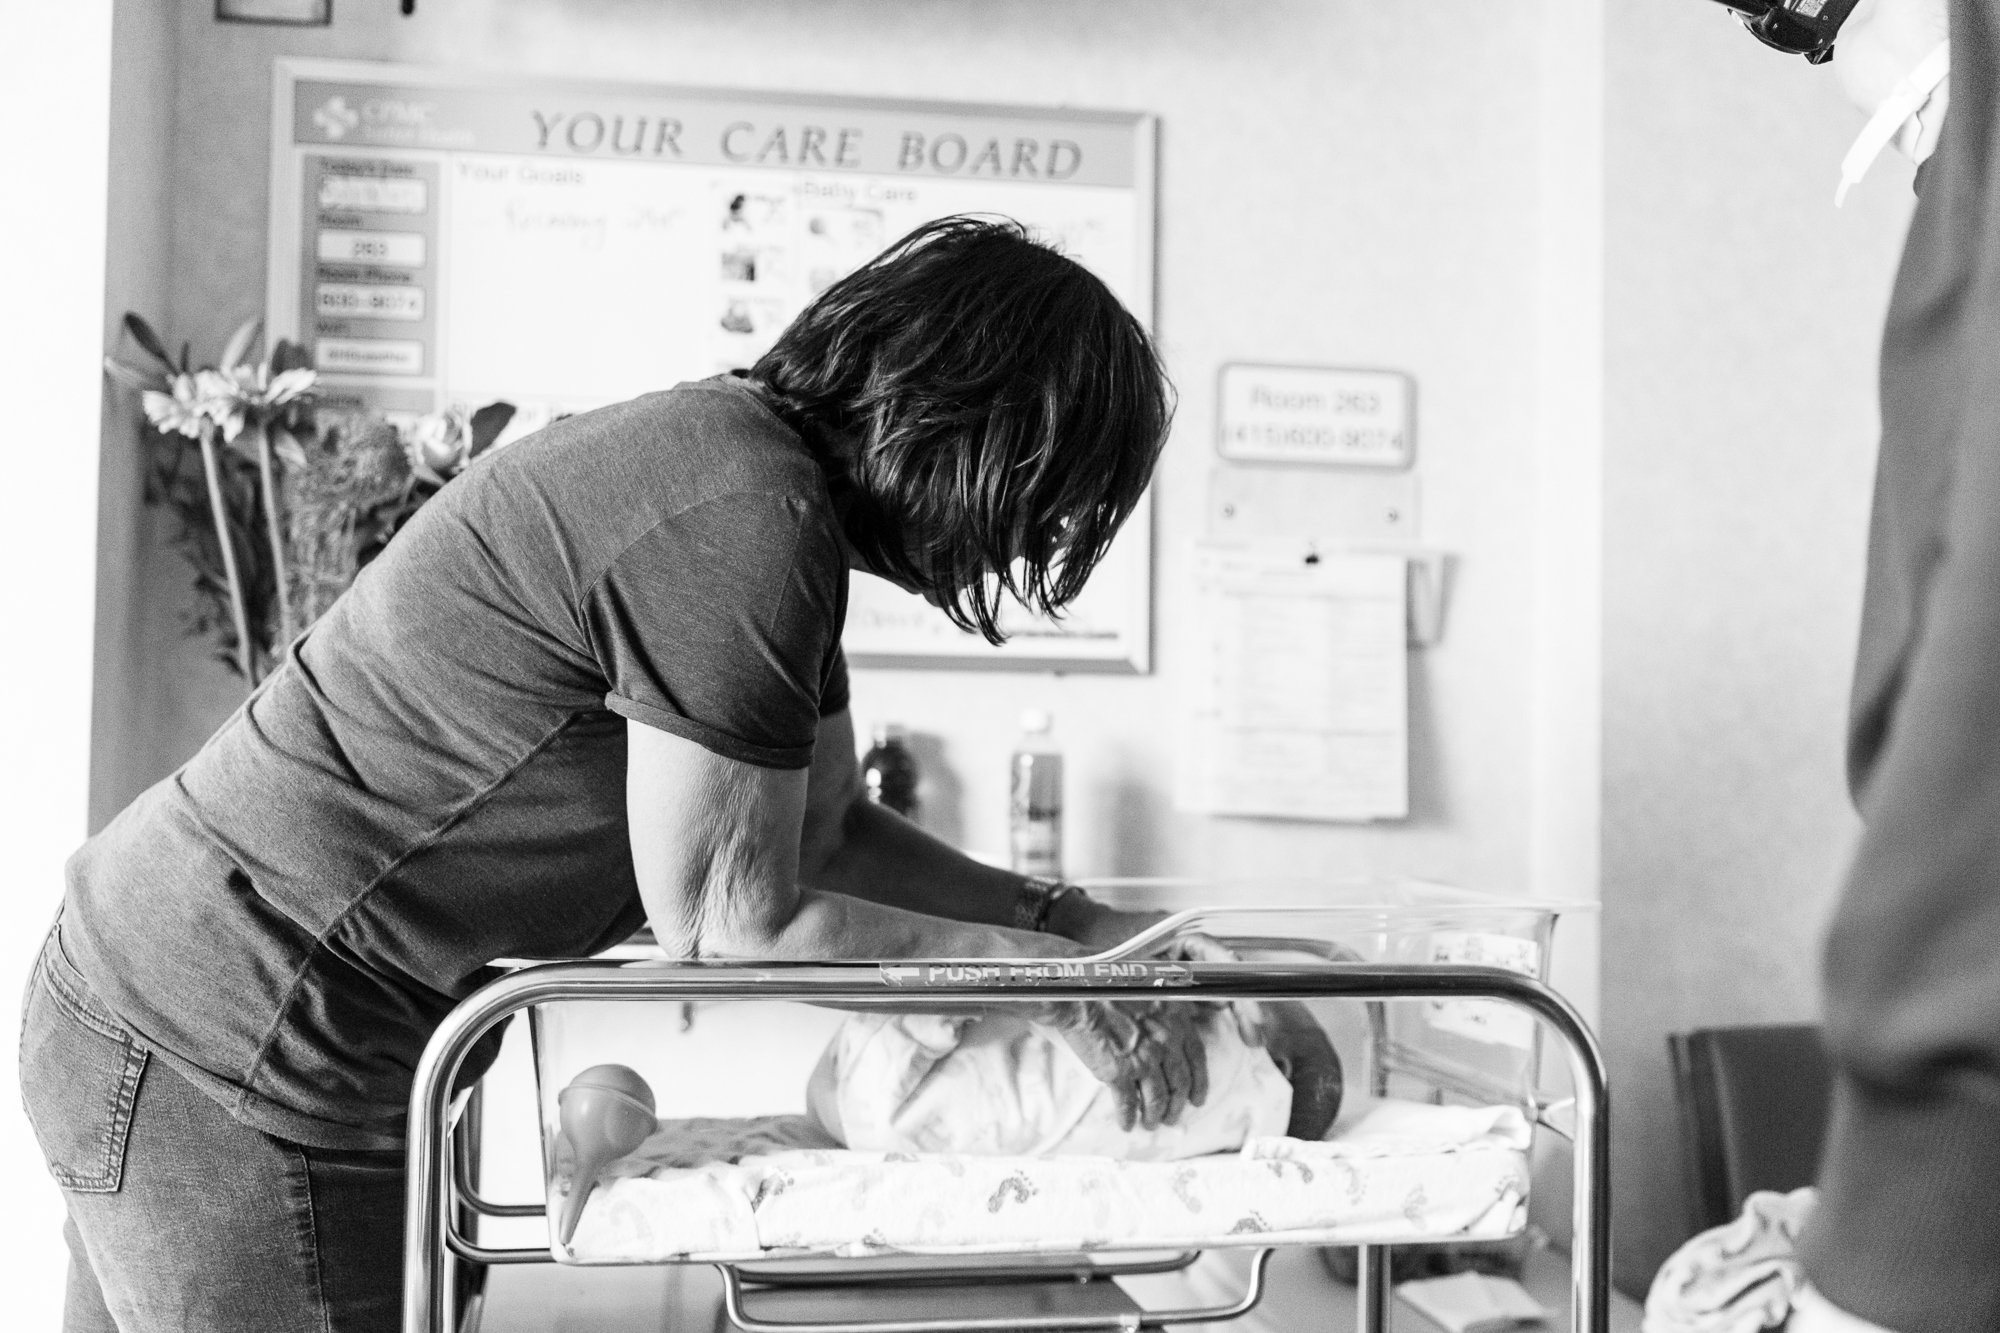
5. Photograph the Environment
From the baby's name plate, to the status board, to your room number, photograph (or ask your partner or a friend) to photograph it all. I would barely remember all of those little things, like the 'baby goals' or parenting lessons we had to master and get checked off our board unless I had a picture of it. I also chose to photograph some of the funnier things about our hospital room, like the chair/bed my husband slept like a corpse in, because laughter really did get us through so much of the newborn phase.

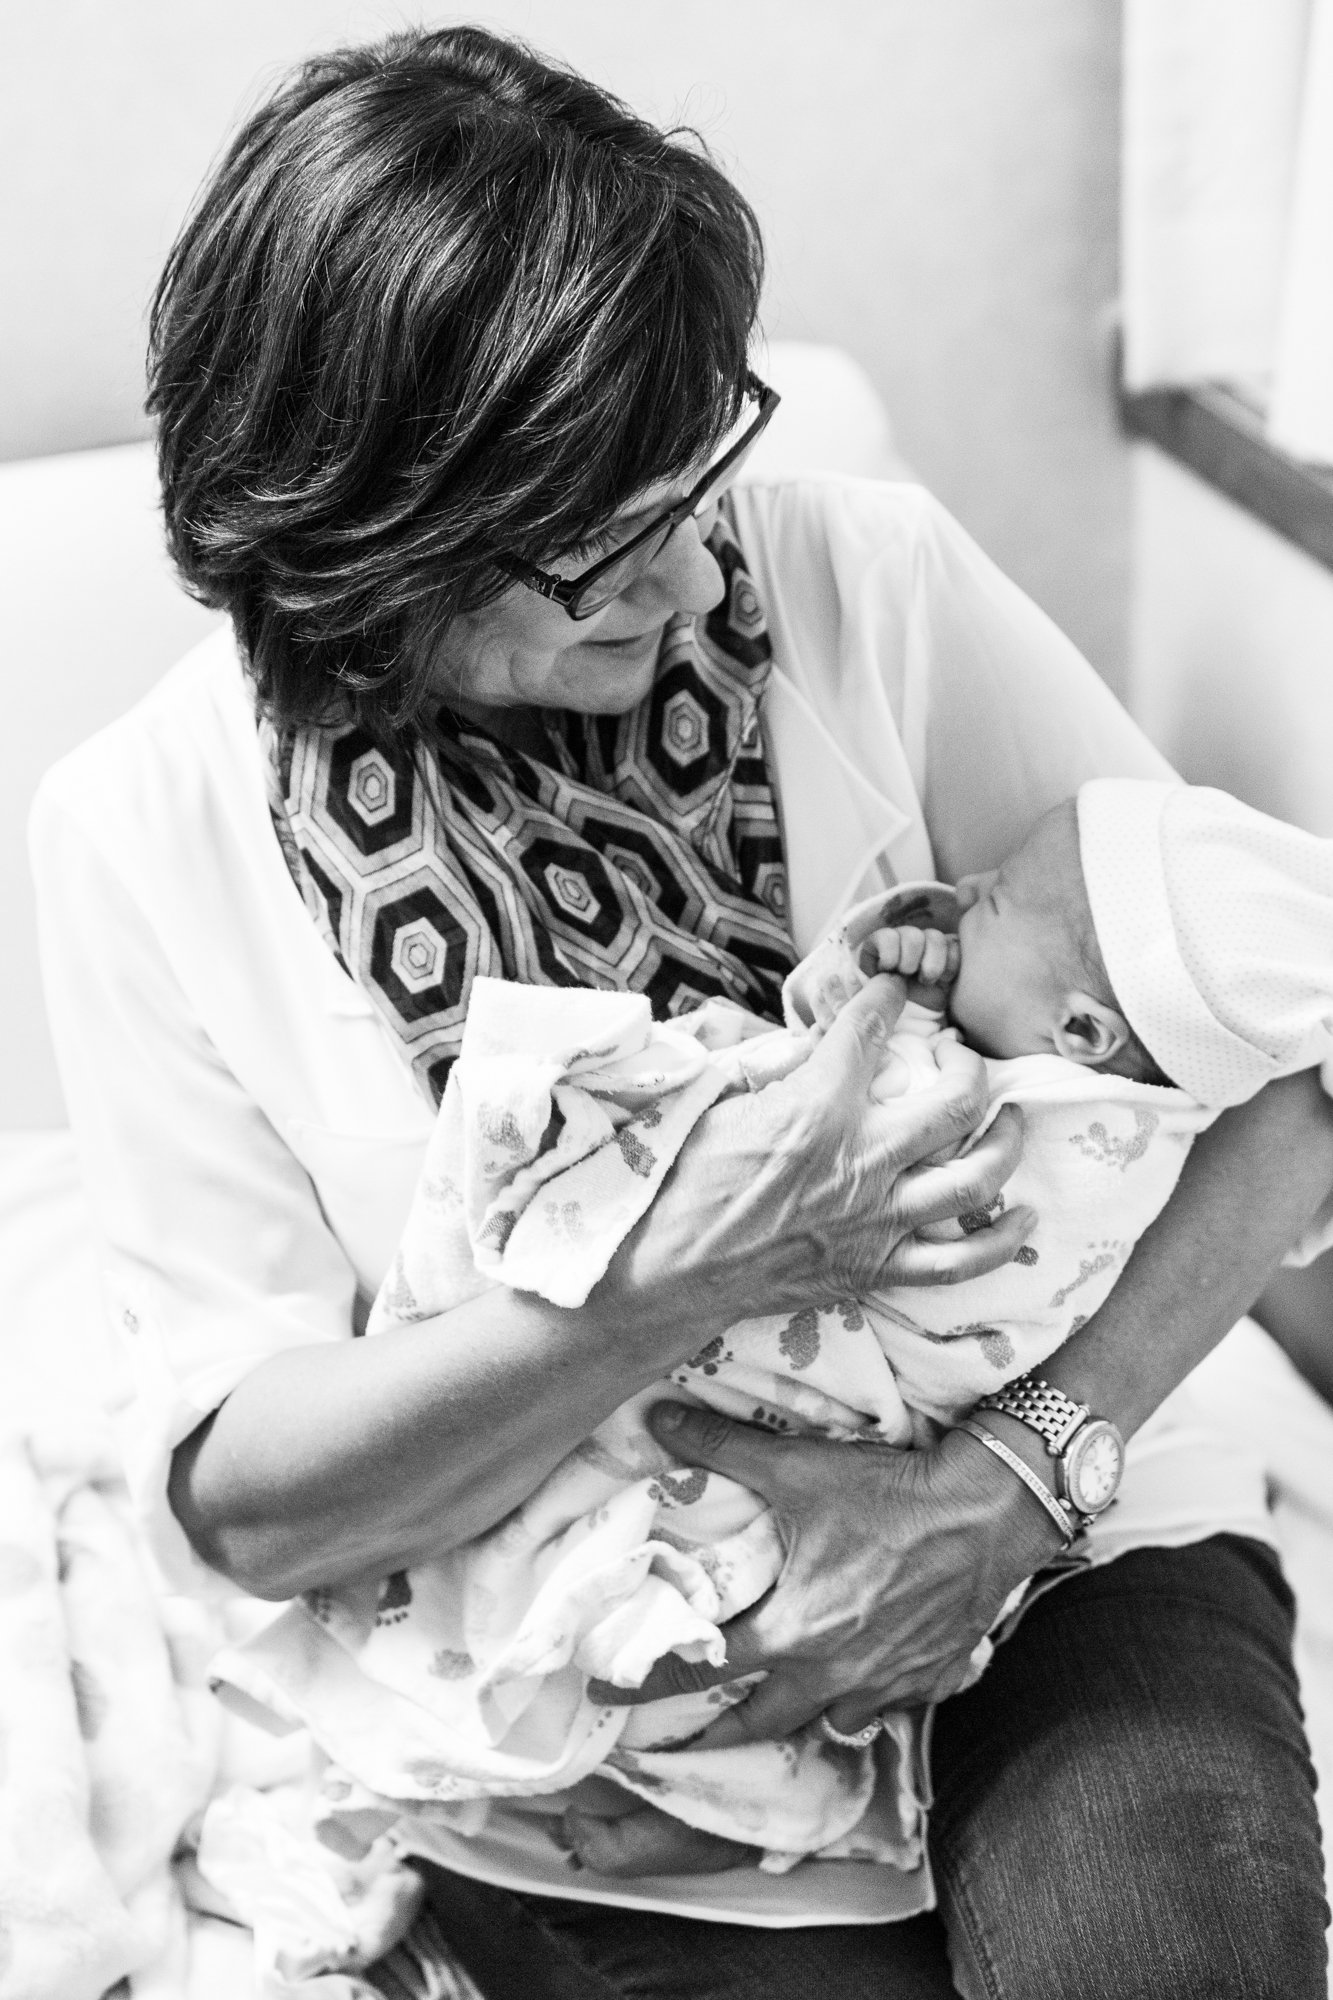
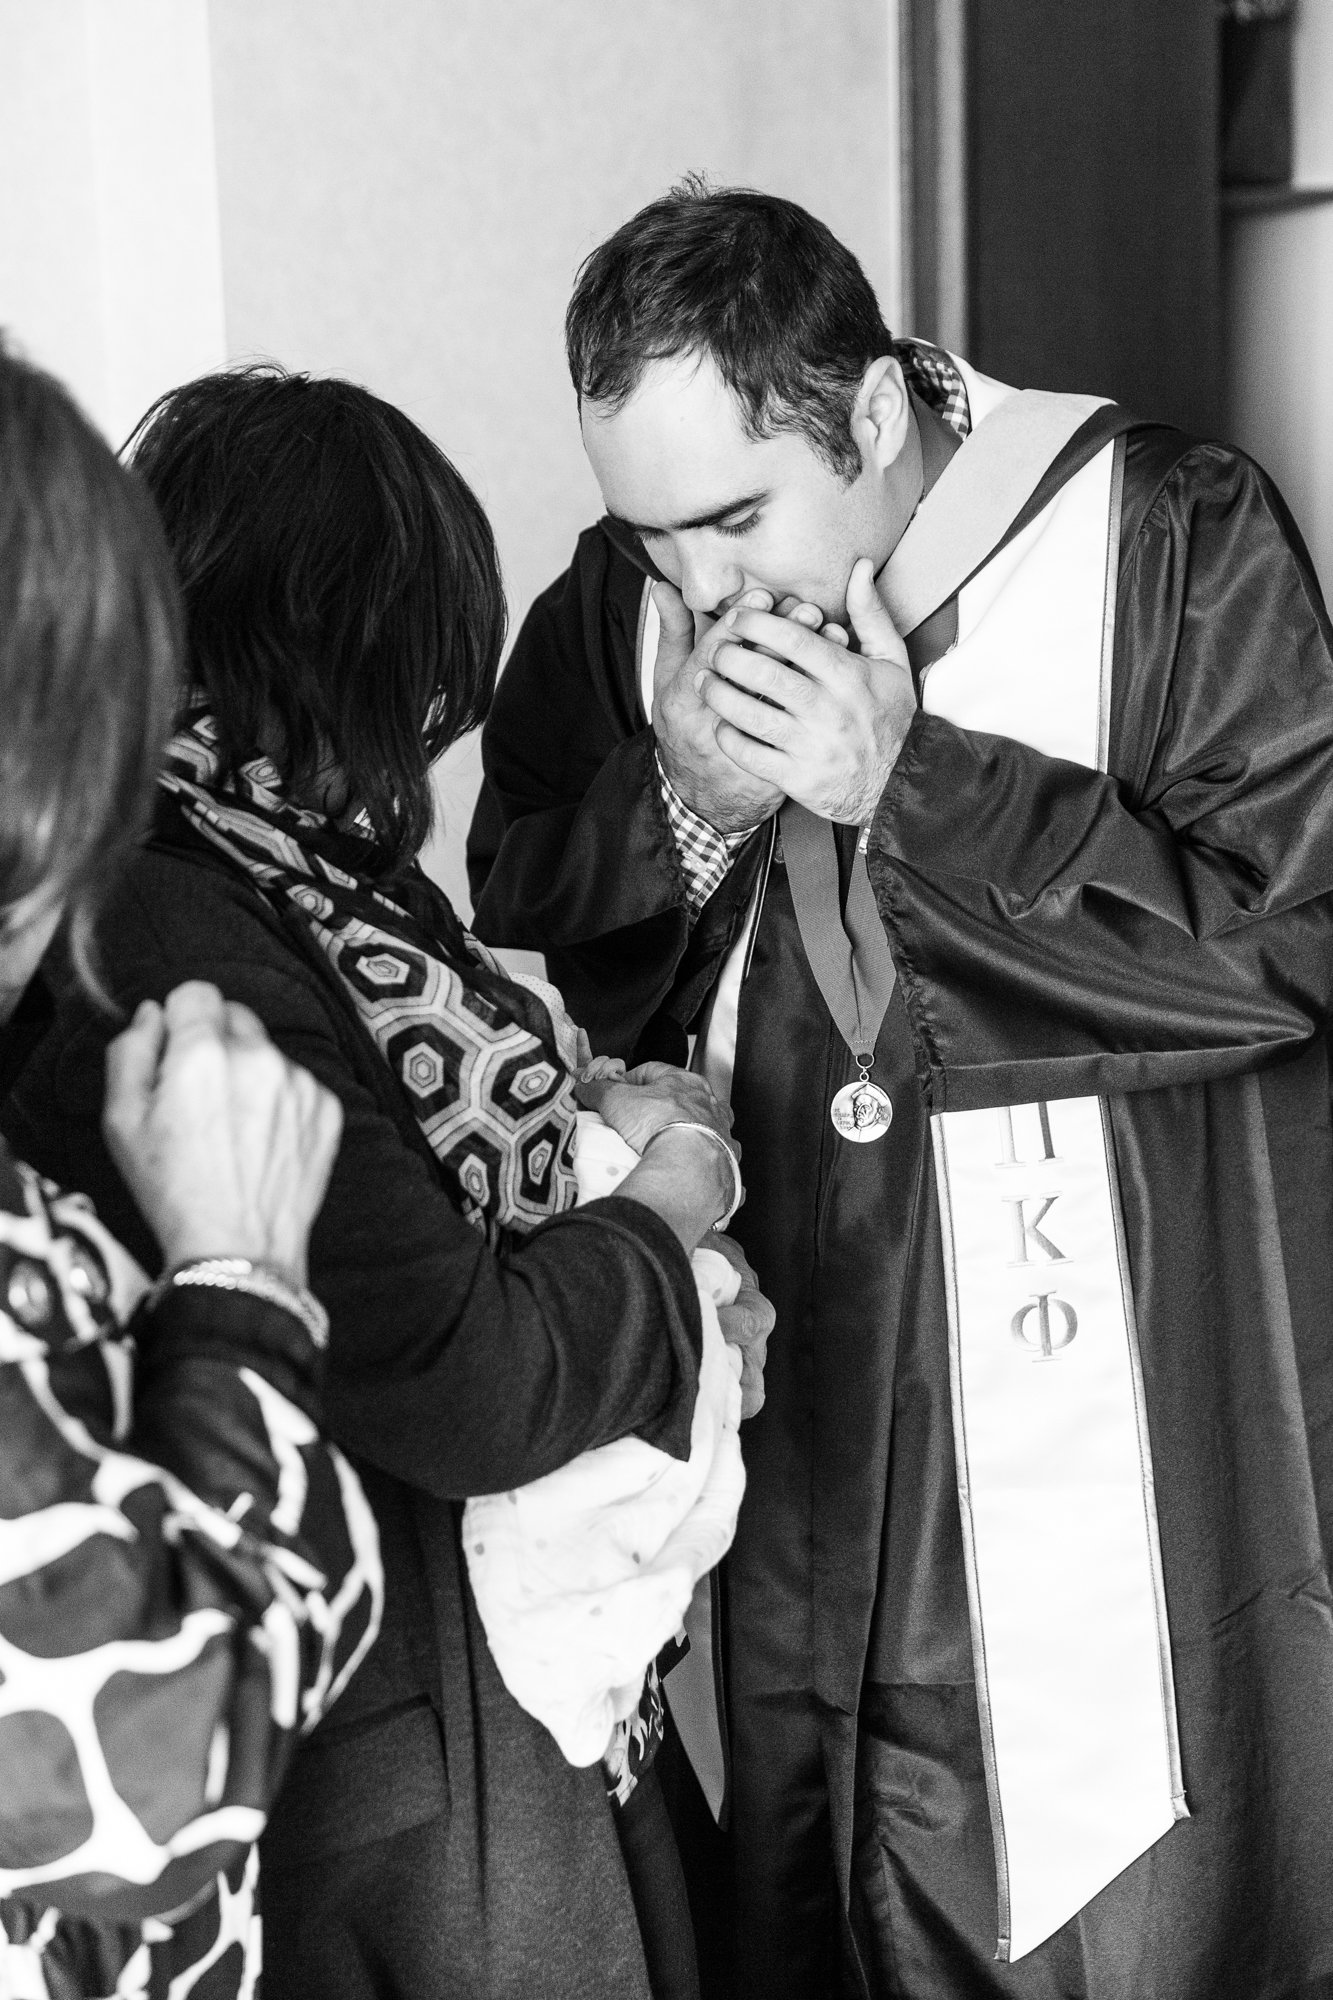
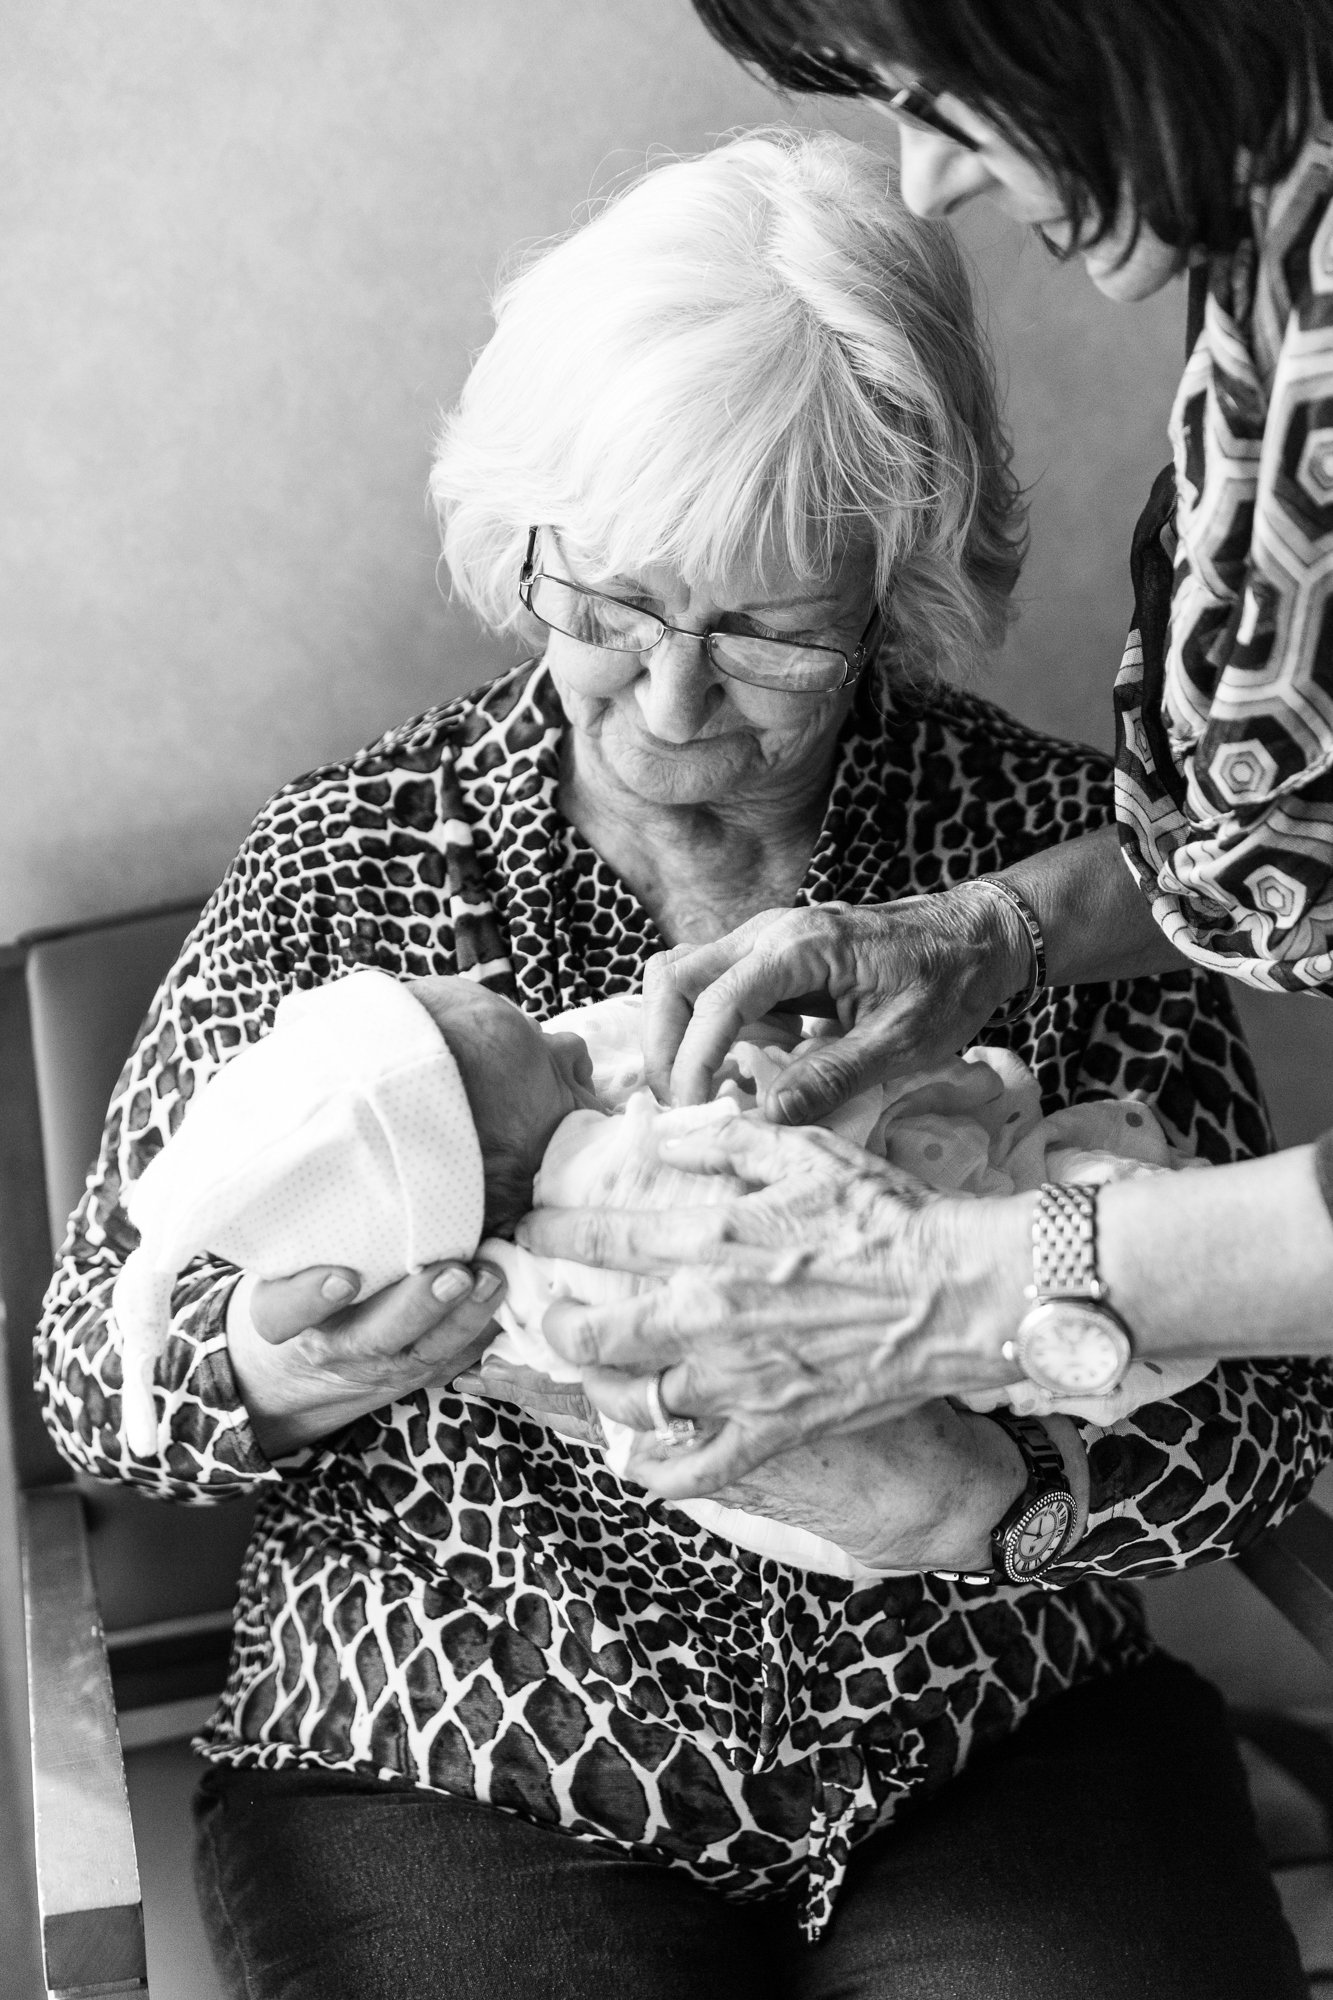
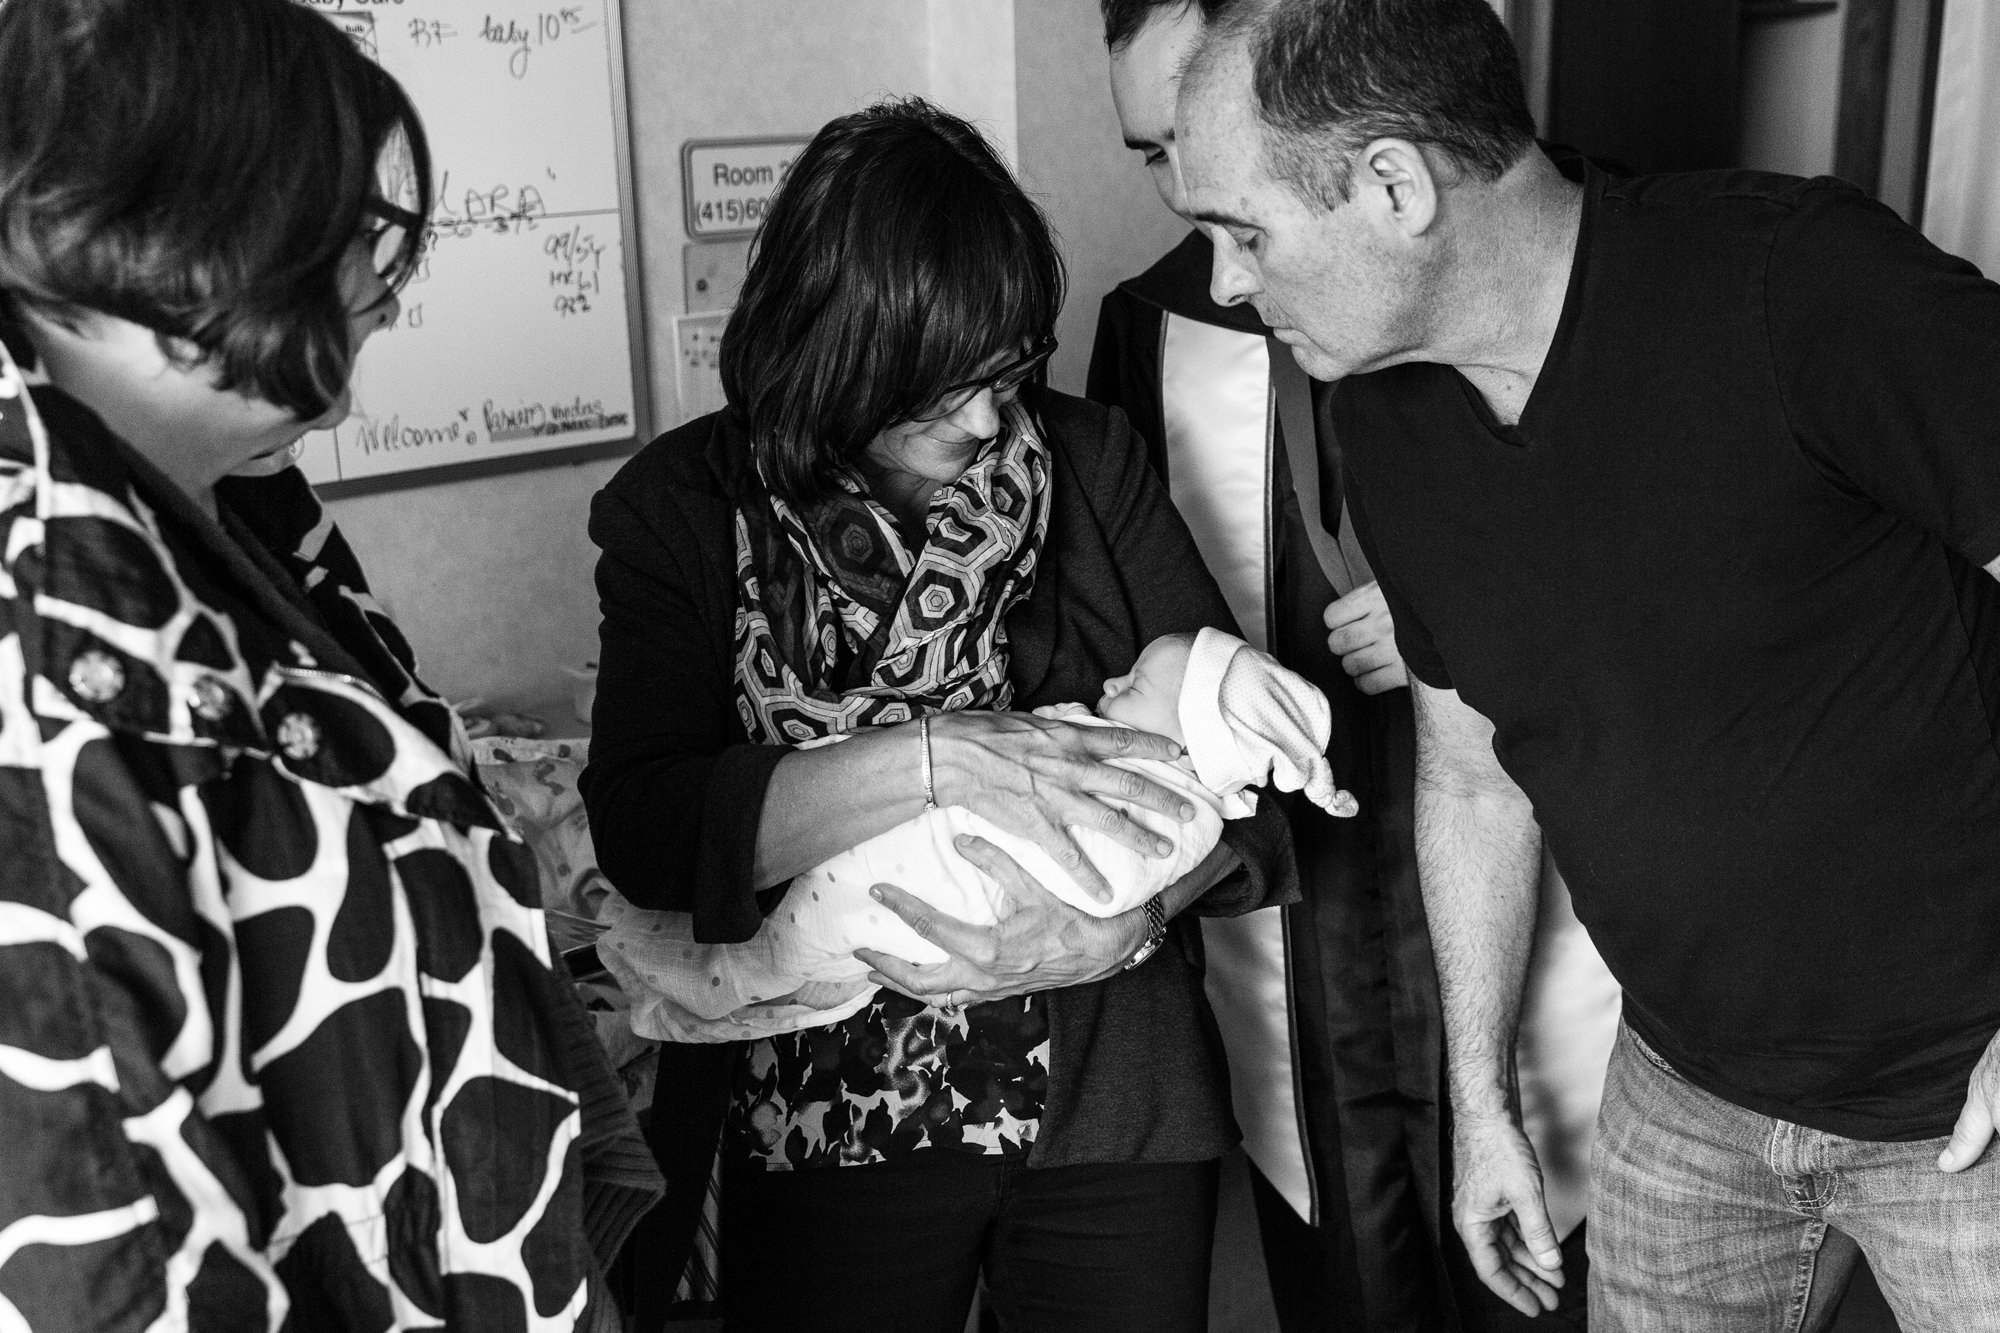
6. Take Pictures of and with Your Visitors
Most visitors take photos of the new baby, and occasionally some of them with the new baby, but you want to have those, too! My photos helped me remember who came to the hospital (don't judge, I was sleep deprived!), and brought back all of that sweet love surrounding us when I looked at them later, especially for visitors that came later in the evening when I may not have been completely with it. In addition to the standard look-and-smile photo, take a few candids of their first look at the baby, the overall excitement, and anything extra special that catches your eye. My husband had a video camera out most days, and having a photo of him video-taping my mom changing the baby's diaper for the first time brings back a rush of memories and laughter.
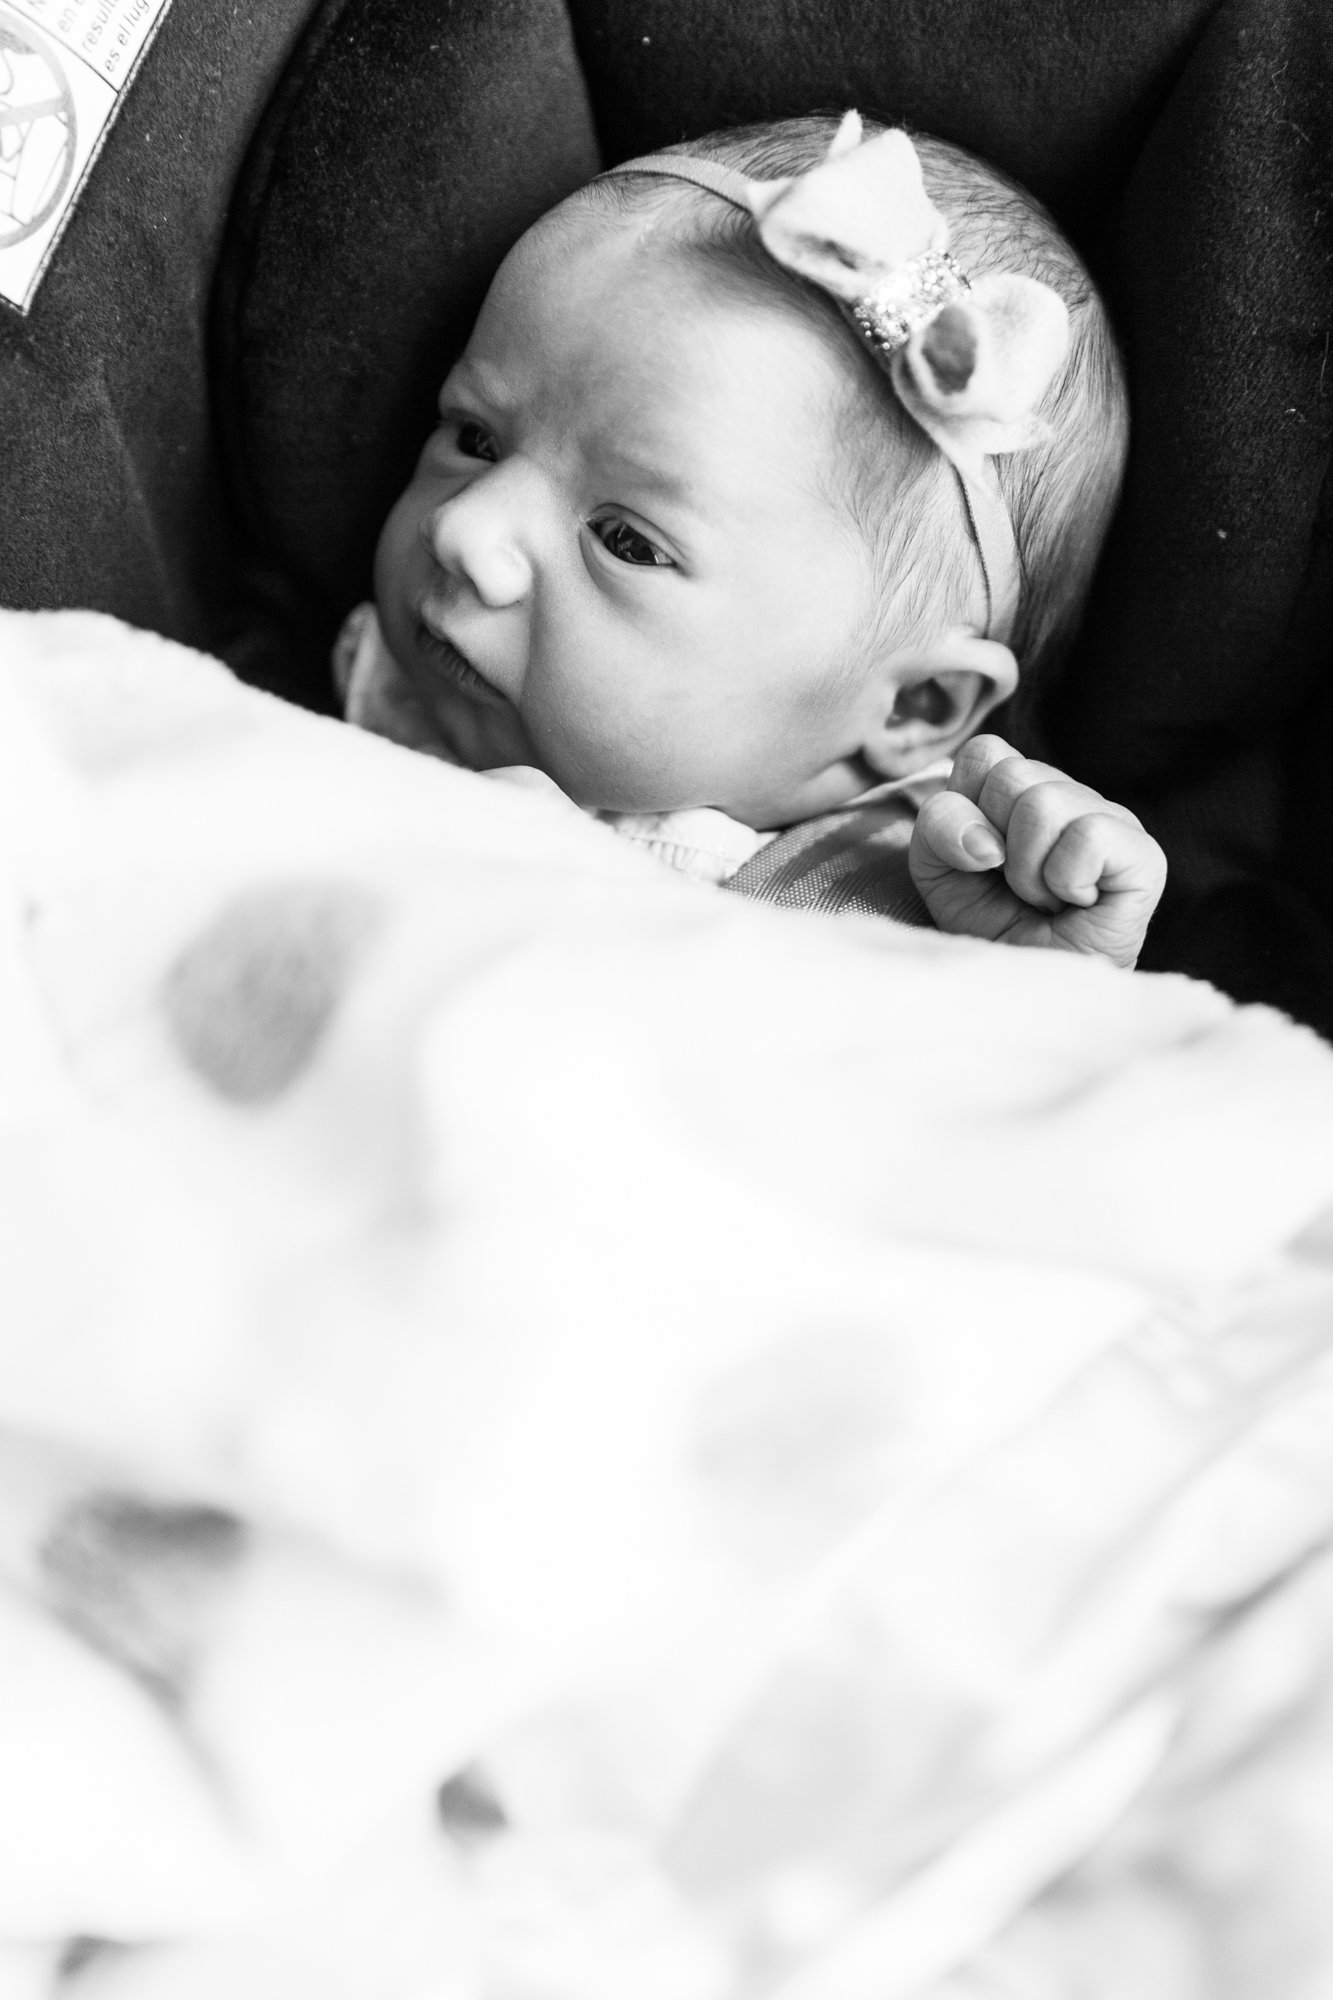
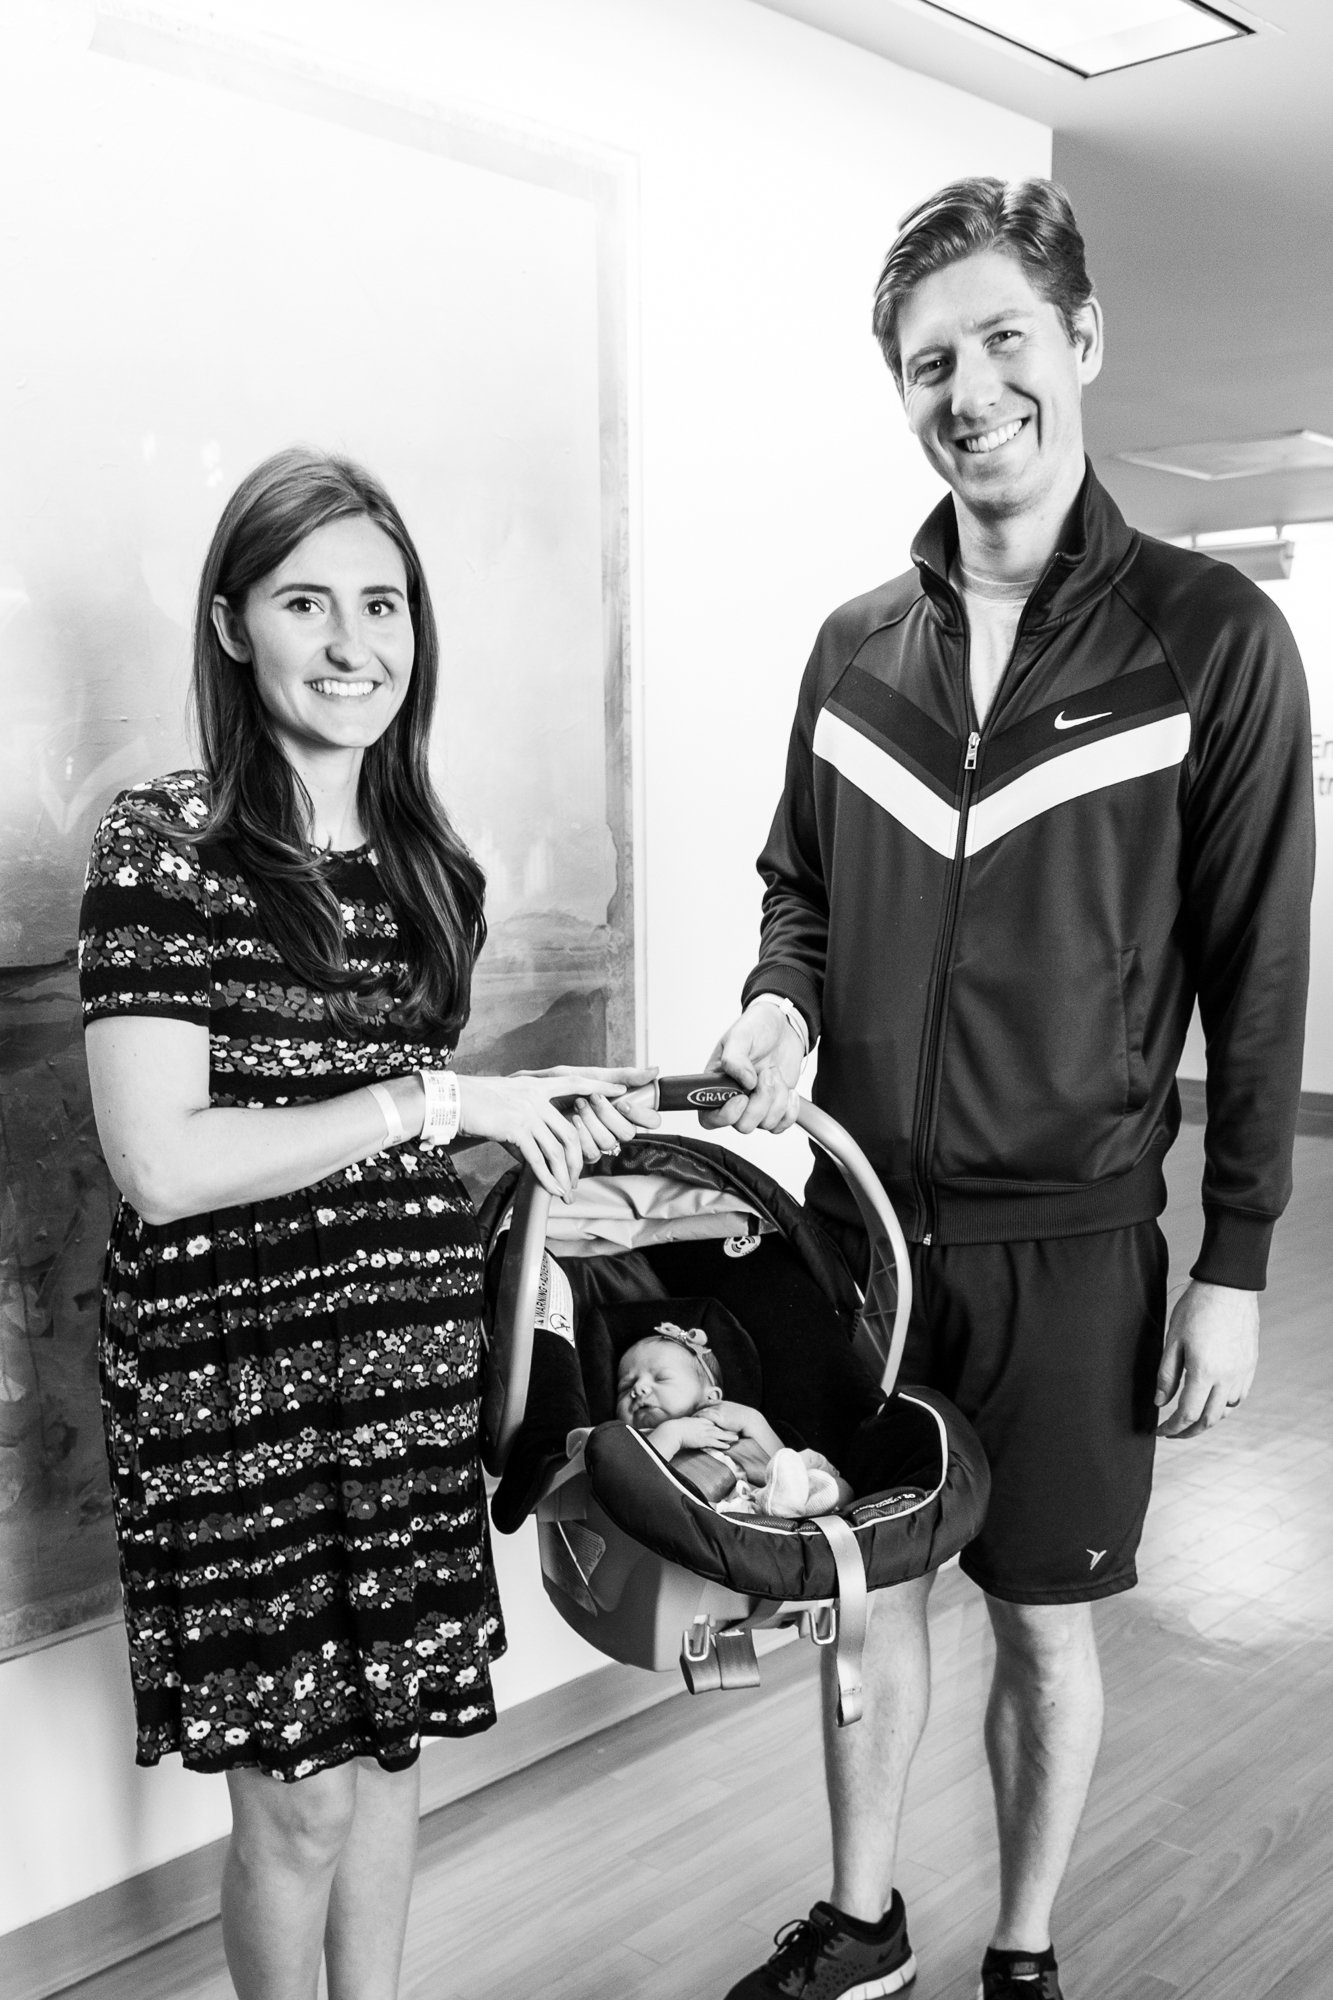
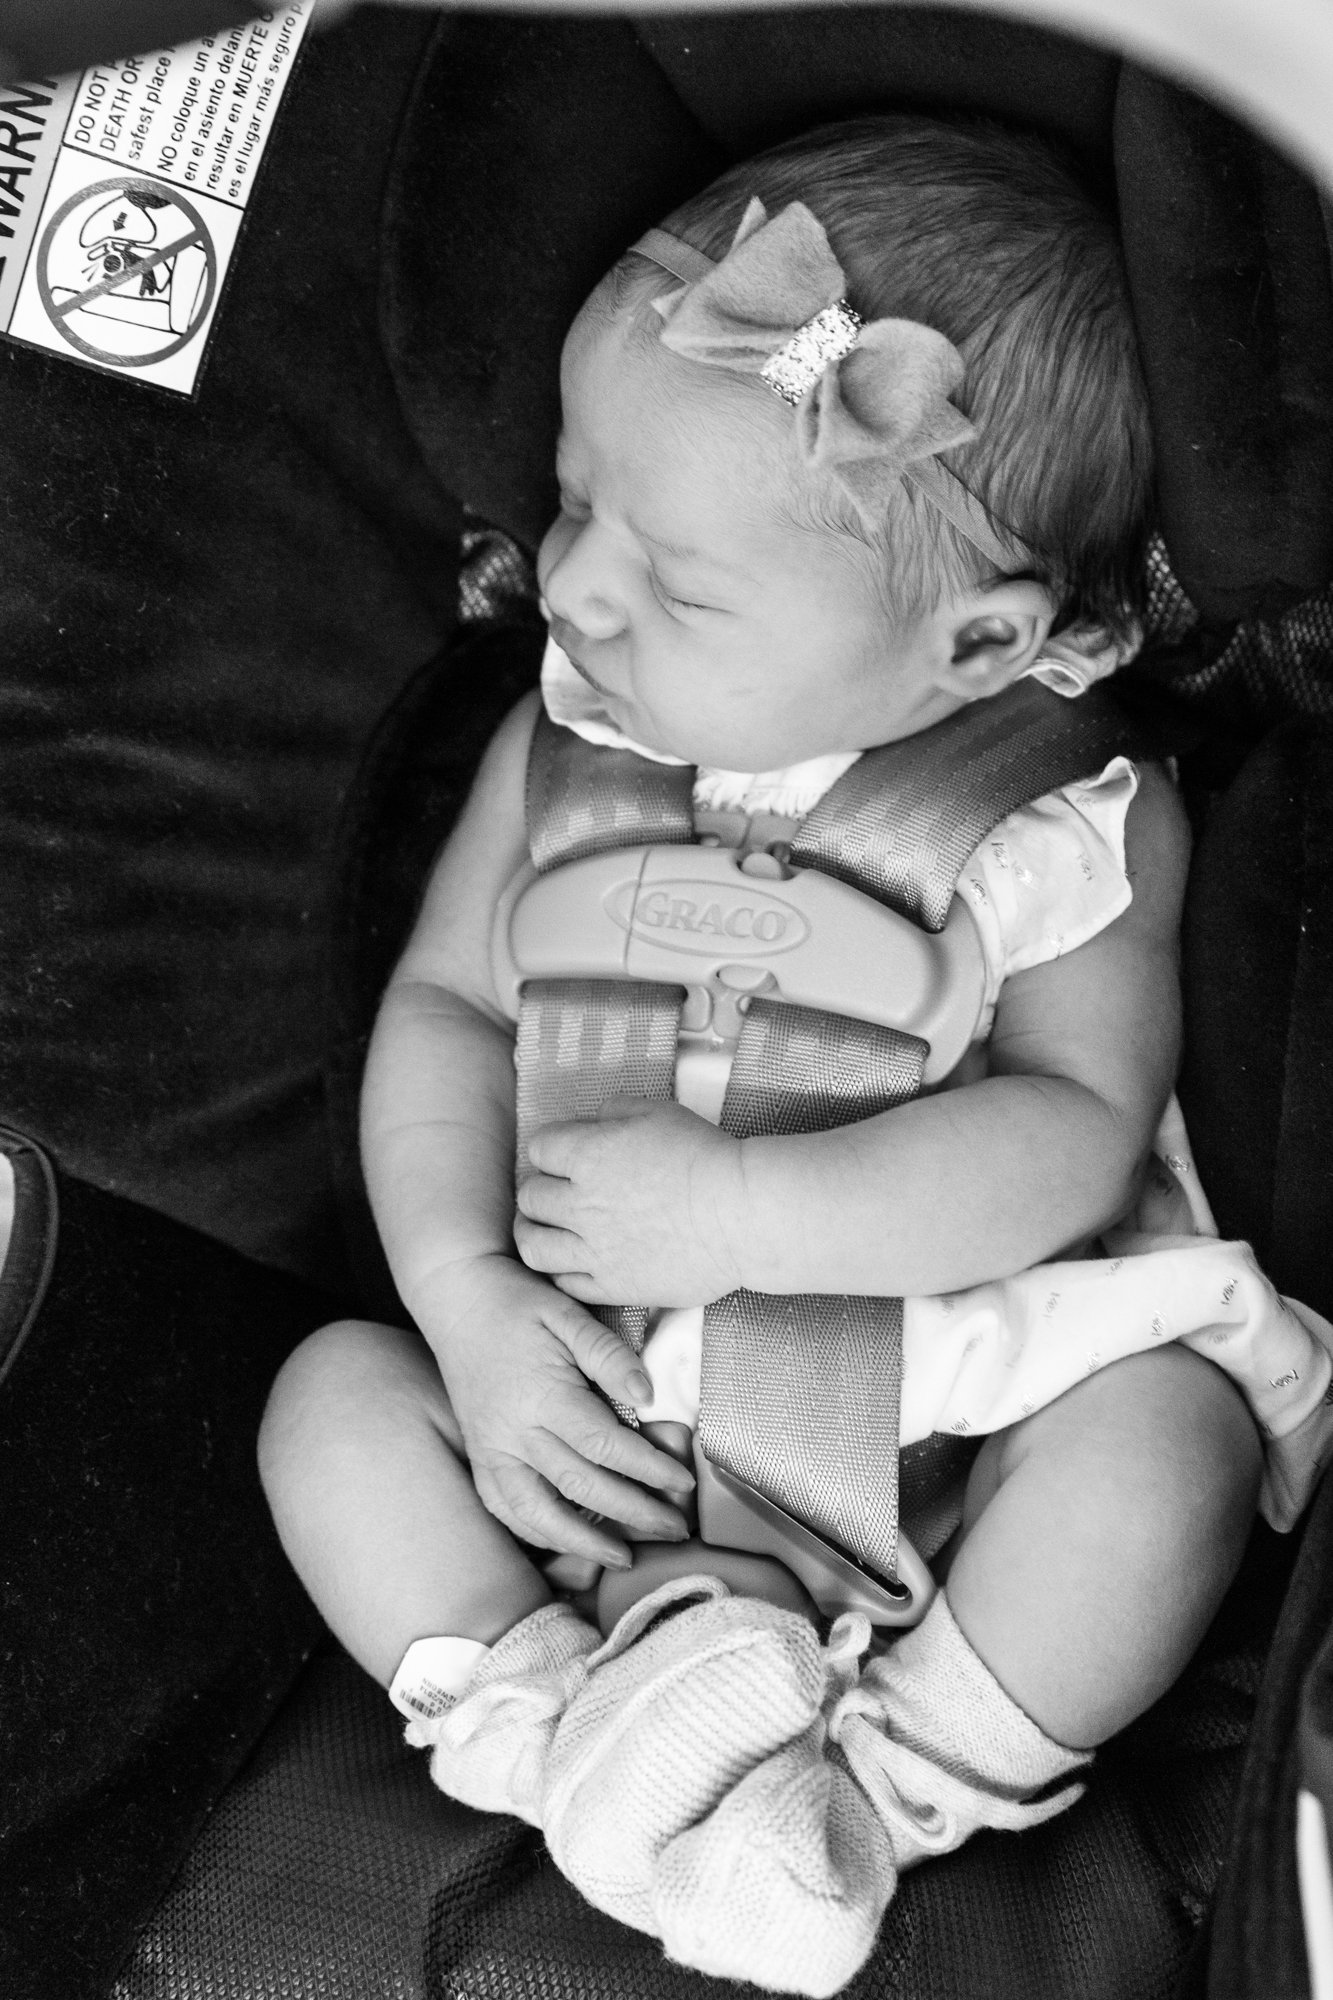
7. Don't Forget Your Last Day
In the rush of excitement to bring your new baby home, most people forget to take photos of leaving the hospital. I'm so glad my mom was there to pick up the camera and remind us to get in the frame! The last day photos have such a different feel to them than the other hospital photos, because you are finally leaving the cocoon of the hospital and starting life in the real world! As always, try to find the best light to take these in as well.
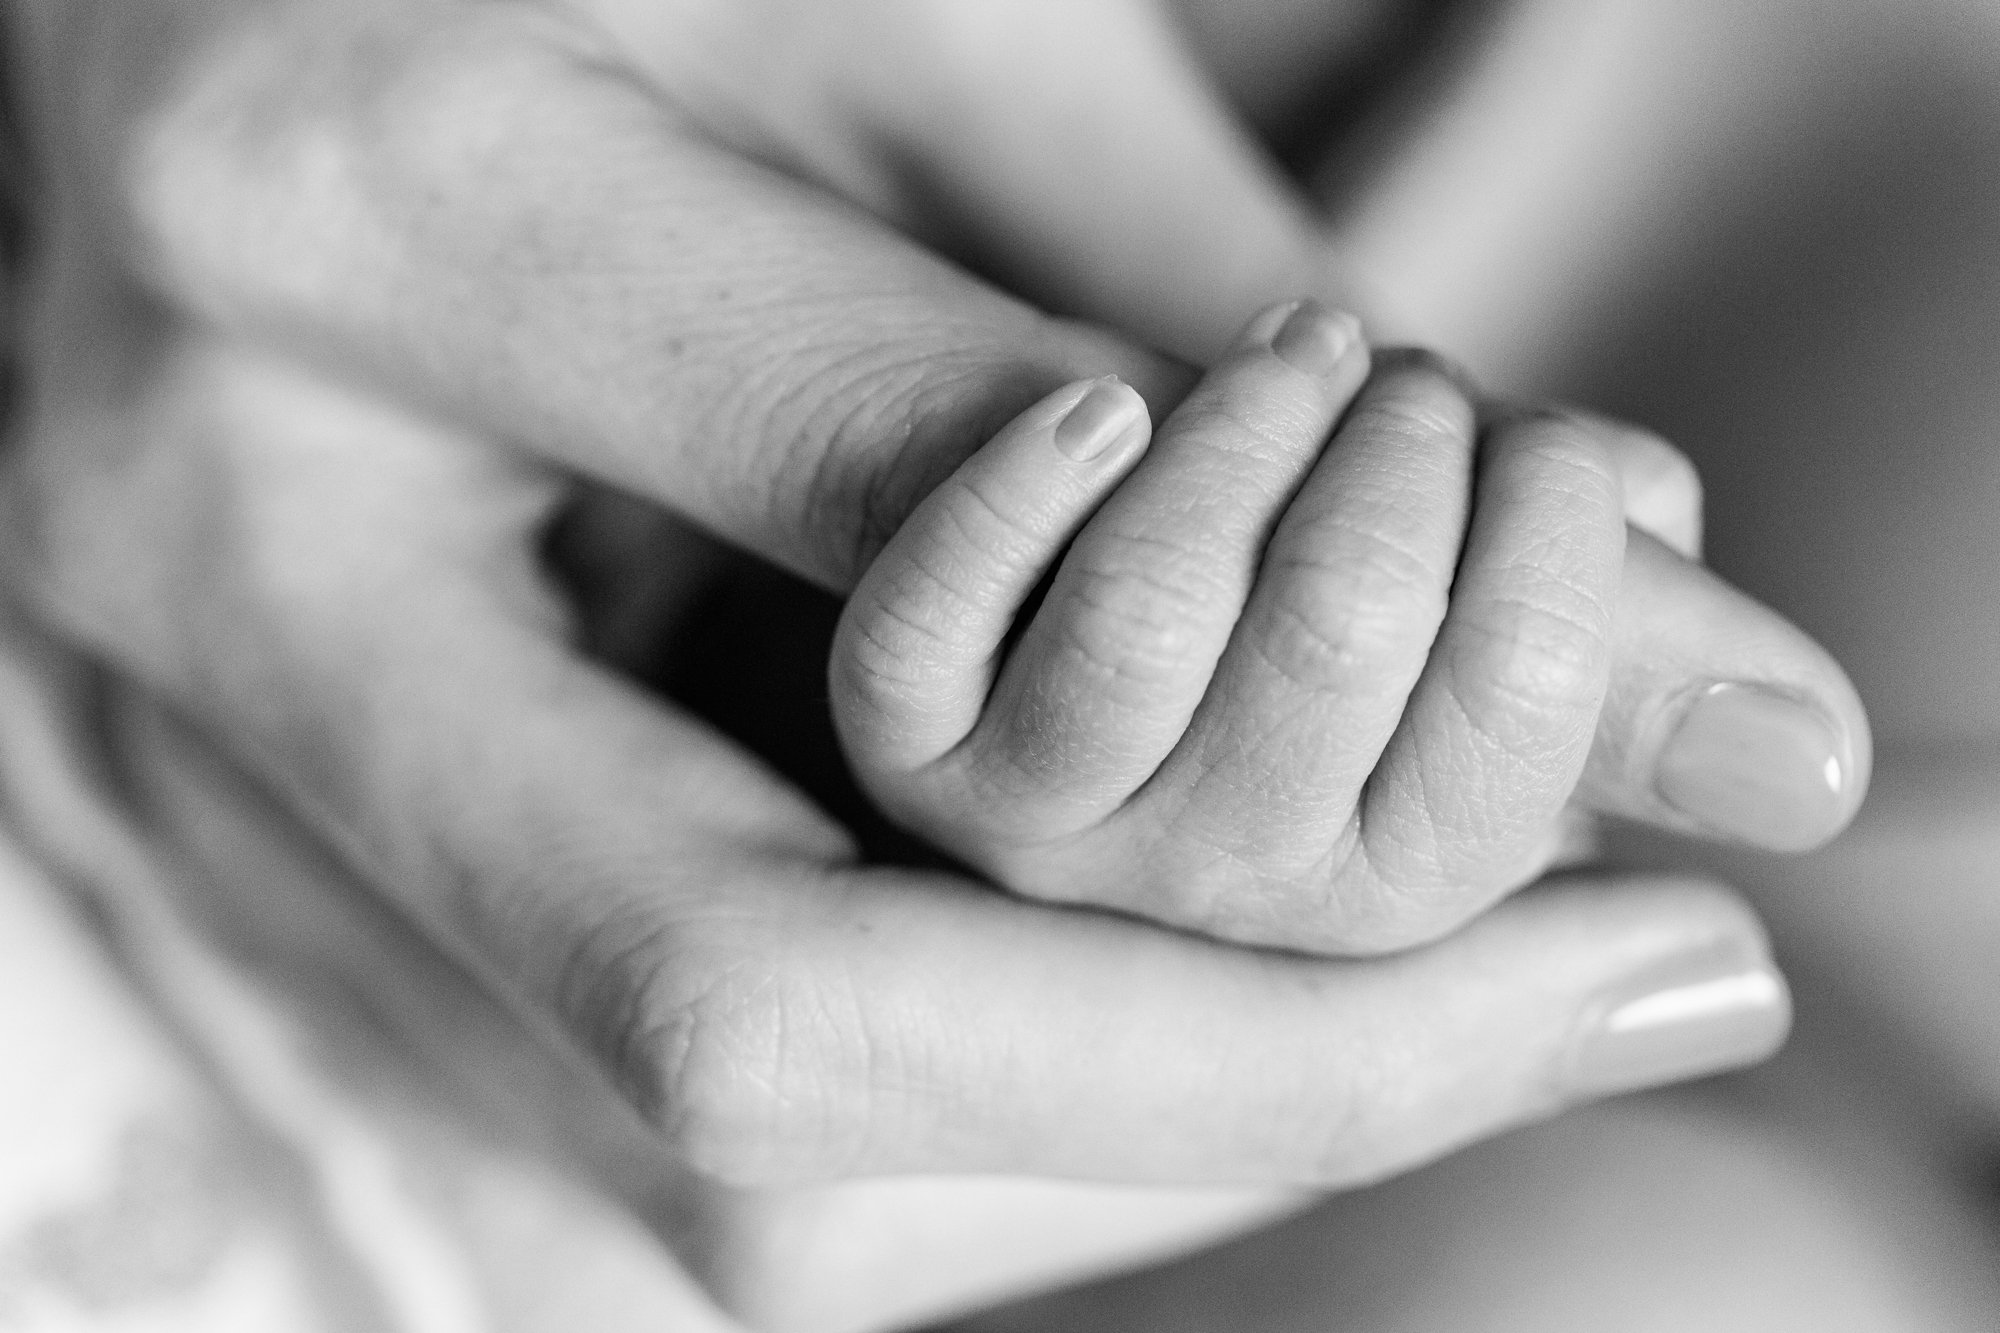
8. Edit
I know most people do not edit their photos, and that's fine! However, OR and hospital lighting is notoriously terrible. At a minimum, you will need to correct your white balance (the color of the photo), and most likely your exposure (the brightness of the photo). You can do this easily with programs like iPhoto or Picasa and find all kinds of tutorials online, and if you want to get really fancy, Lightroom is a fairly intuitive and easy to use program that's powerful enough that most professional photographers have it in their arsenals. We include presets, include the black and white one used for these photos, in our photography class Capturing Everyday Magic, to use with Lightroom that make everything easy-peasy. Editing makes a huge difference in picture quality and investing time into making the photos the best they can be is time well spent for your child's delivery day. It doesn't have to be done right away, or even in their first year, but I would recommend doing it at some point. I would also recommend having one set in color and one set in black and white. There is a reason birth photography is usually black and white, and that's because is much more flattering. Babies are usually red or yellow, covered in goop, the lighting is harsh, and the color of the lights is rarely flattering for the people in the photos. I have my photos in color just for my personal use, but it took a lot of time in post-production to get the colors right, and the black and whites are much more beautiful and timeless.
I hope these tips helped you feel more confident in taking your own DIY newborn hospital photos. Some of these may not apply to everyone because all of our births and how much time we have and our mindsets during those times are all different, but most of them can be applied to every birth in some way, and definitely to the hospital stay after the birth.
If you are really wanting to up-level your photos, our online photography course for parents, Capturing Everyday Magic, is the perfect place to go!
If you are in the Bay Area and delivering at CMPC, UCSF or Marin General in Marin and looking for a professional to come in and document those first moments, I offer Fresh 48 hospital sessions in San Francisco and Marin and would love to be a part of your first 48 hours as a family!